Facebook Business Manager | The Quick and Easy Guide
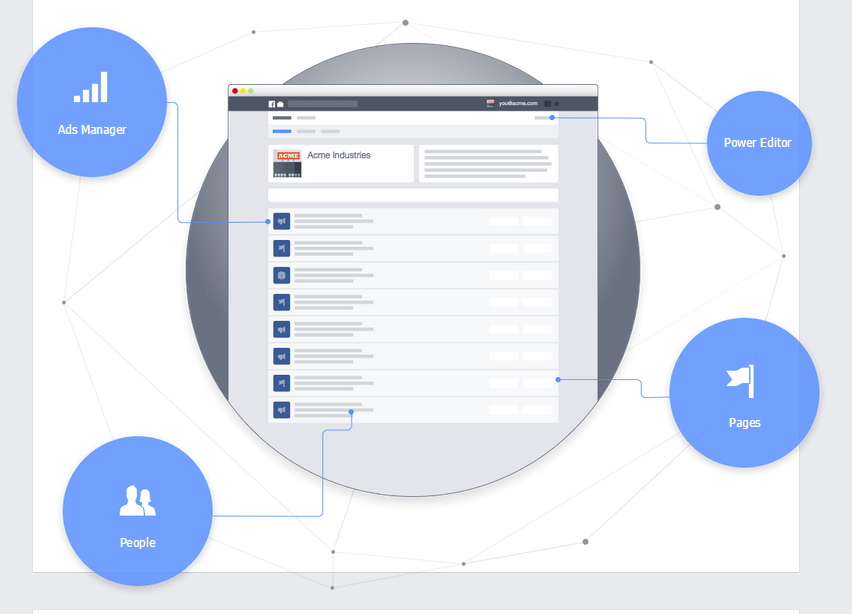

Now that Facebook Dynamic Product Ads are live in Power Editor, retailers who want to take advantage of Facebook Advertising will have to set up Facebook Business Manager first.
But we don’t have all the time in the world to learn the ins and outs of Facebook Business Manager. That’s why we created this no-muss-no-fuss guide.
Get where you need to go faster:
Facebook Business Manager is a section within Facebook where you can organize and manage your advertising account(s) and user permissions.
There are several key benefits to using the Facebook Business Manager:
Now let’s get started setting up your Facebook Business Manager so you can access all of these perks.
Before you sign up for a Business Manager account, we recommend you have a Facebook advertising account, a Facebook Pixel installed on your site, a Facebook page, and the names and work email addresses of users you’d like to add to the account.
Whether you’re brand new to Business Manager or you need a refresher on what the setup process looks like, you’re in the right place. There are three types of scenarios for most users:
This post mainly covers scenario 2. However, you can find pretty much all of the information you need in all scenarios within this comprehensive post.
Let’s get started.
Go to business.facebook.com. It doesn’t matter if you’re logged in or not.
Click “Create Account” in the top right corner.
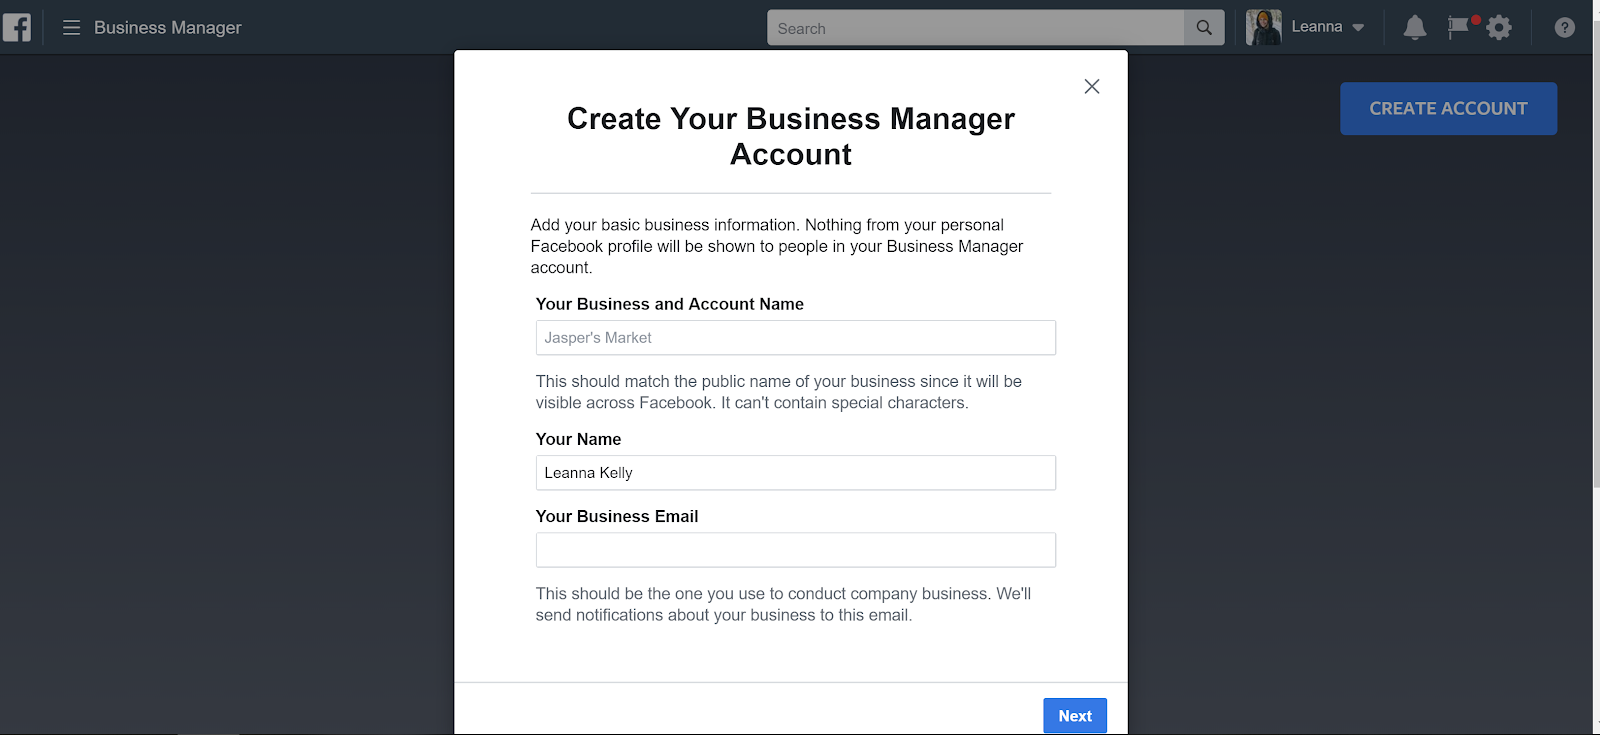
You’ll see options to add in your business and account name, as well as your personal name.
If you are not the person who will be in charge of managing this Business Manager account, we recommend you use that person’s name and email in this section (unless you’re working with an agency, as they will have their own Business Manager account they can add you to).
Add in your country, street address, website, and “business use.”
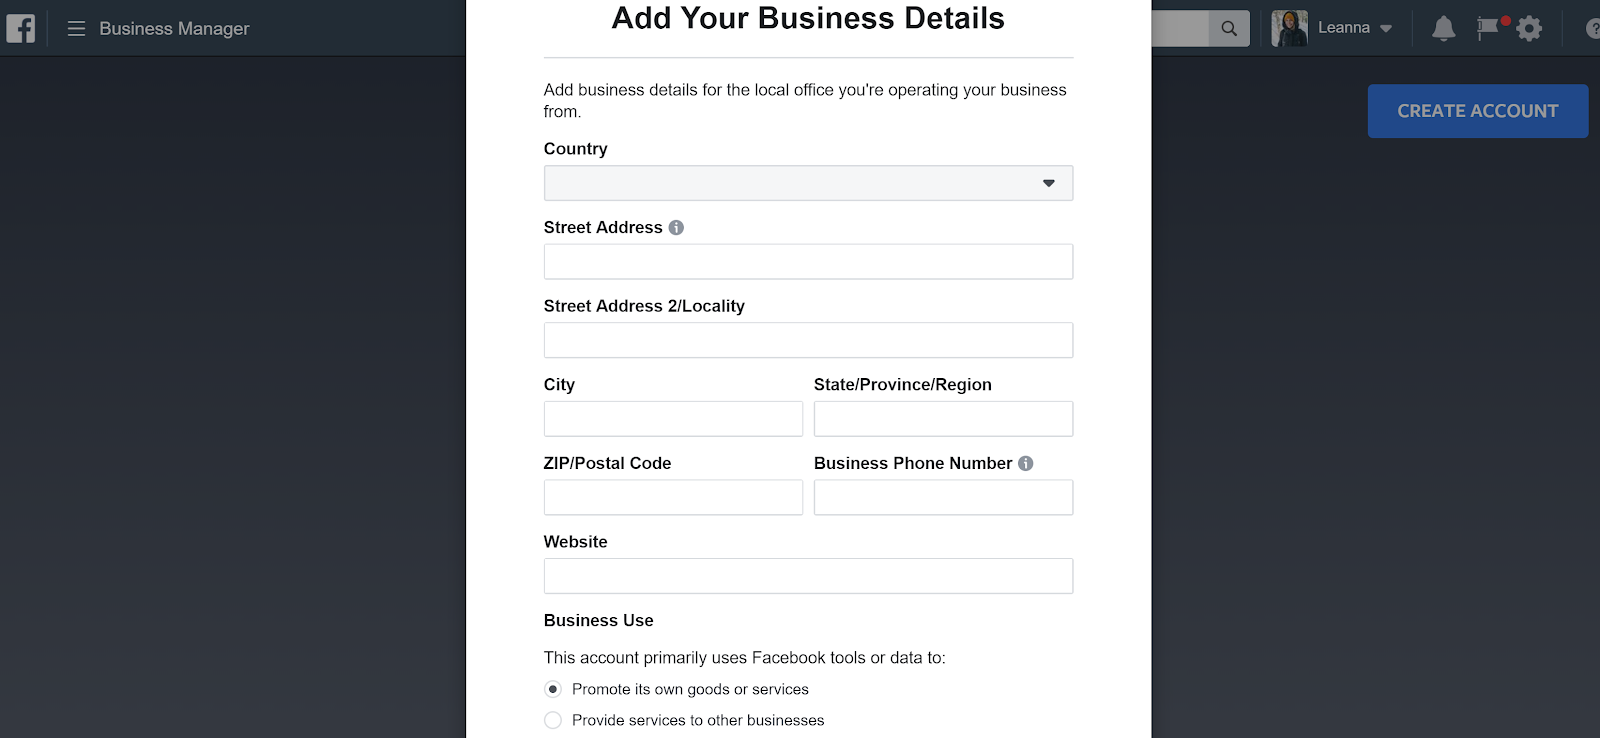
If you are a company promoting your own goods and services (say, a brand or retailer), then selected “Promote its own goods or services.”
If you are an agency or managing an account for another business, select “Provide services to other businesses.”
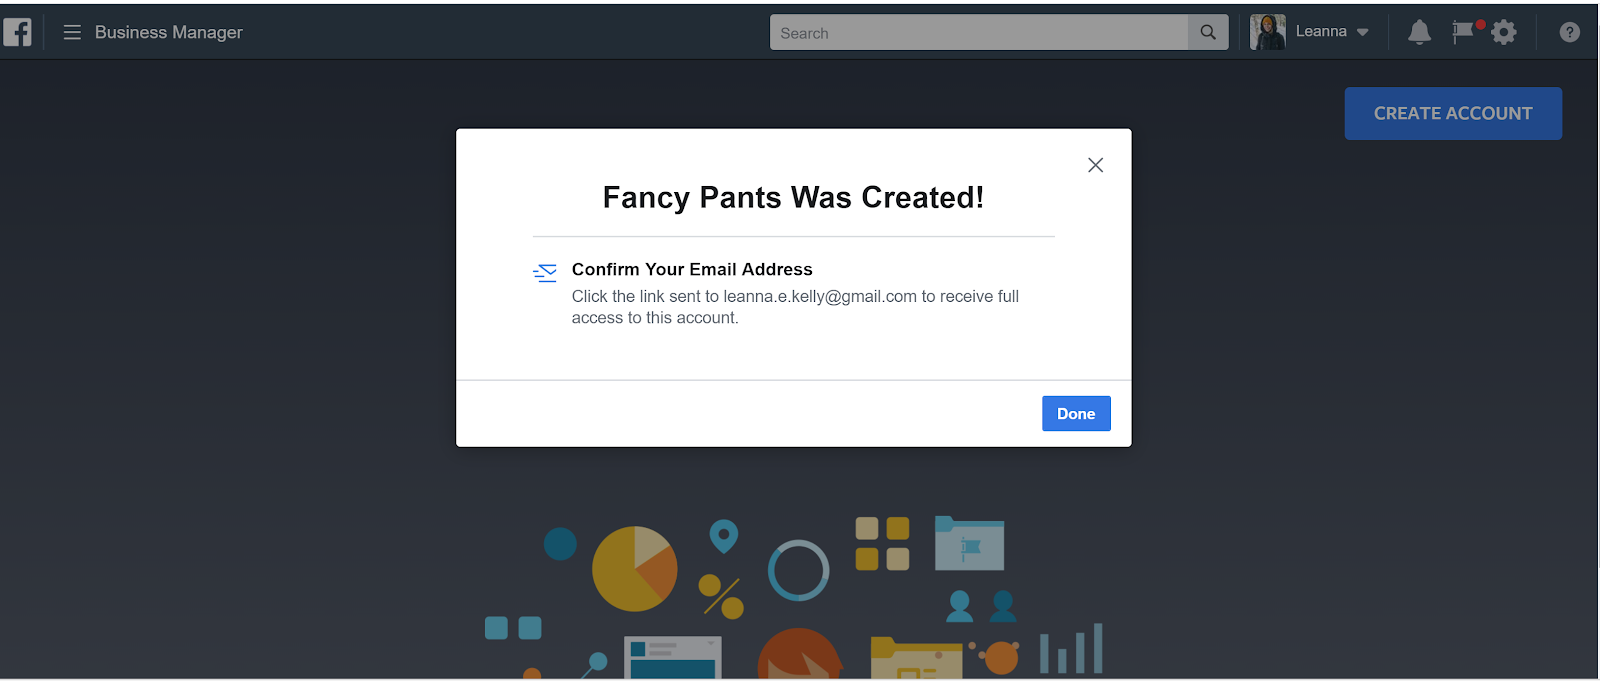
Woo hoo!
Your Facebook Business Manager has just been created. All you need to do now is confirm your email address, and the actual work can begin within “Business Settings.”
When you verify your email and log into your Business Manager account again, you’ll see all of the following selections:
(Pssst. These tabs are always subject to change, so keep that in mind as you go through this post. If you notice a big change, give us a heads up in the comments!)
So let’s tackle the first one: Which people do you want to work within this account?
Within the “People” section, you have the option to add users. Simply press the blue “+Add” button and get started selecting permissions.
These are the types of roles available:
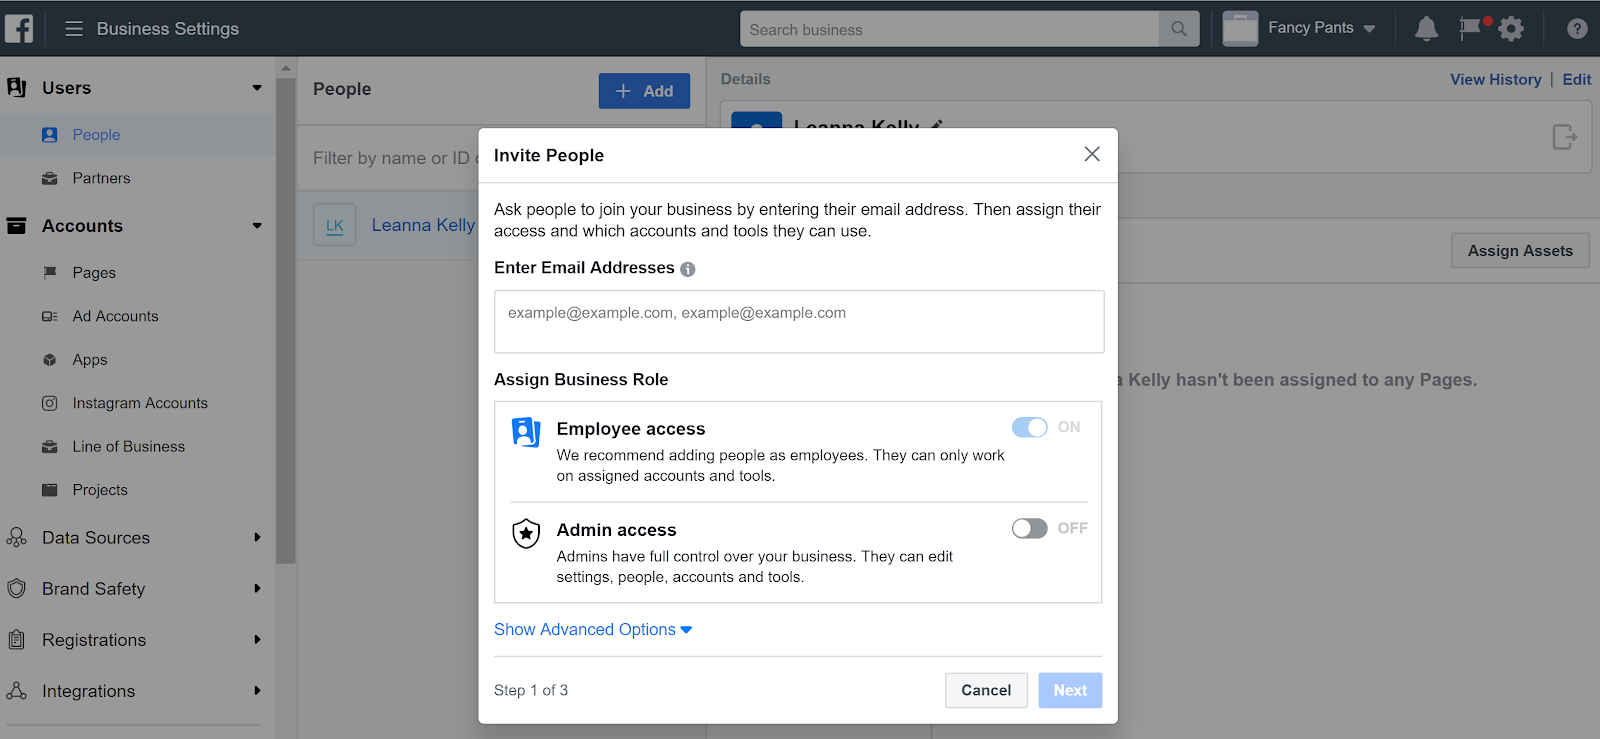
Be careful about who you add as an Admin – even a small change to a setting or permissions for another user can have a big impact on your account.
Make sure you or another person on your team owns the responsibility of maintaining the user base. This includes when employees are onboarded or leave the company.
If you add an “employee”, you can selected assets to assign to that person – from pages to catalogs (we’ll get into those later).
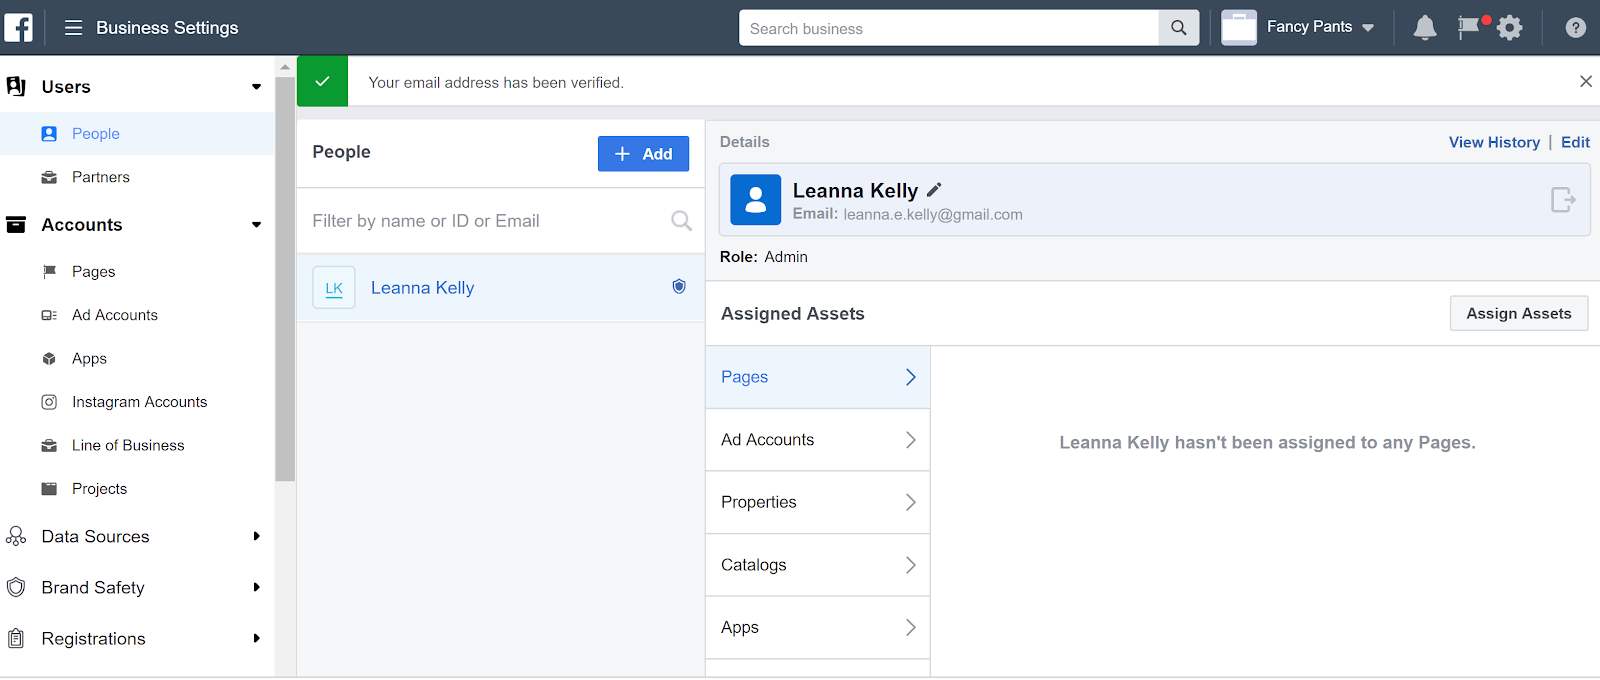
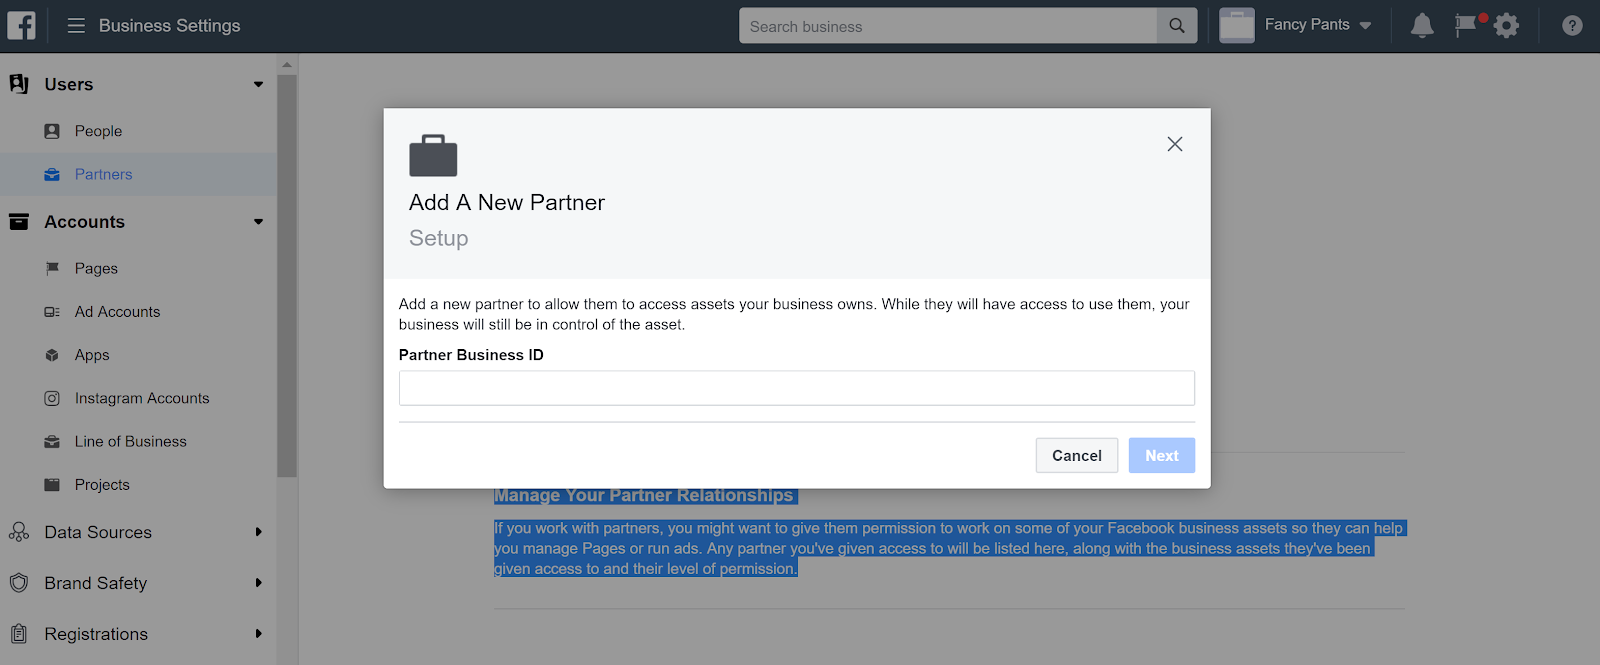
Next up, you have the option to manage Partner relationships.
“Partners” include any contractors or agencies you are currently working with on your Facebook ad account.
You can adjust all of their permissions and ensure they have access to only specific areas of your account.
Note: If you are only given employee-level access to a Business Manager account, you will not see the full list of custom options covered in this post. You also won’t be able to add more people or partners.
Now that we have all of our users, it’s time to move on to accounts.
There are six account types you can add to your Facebook Business Manager account. These include:
(The last two aren’t technically “accounts,” so we’ll cover them in the next section.)
This one’s pretty simple. You can add a preexisting page, request access to a page, or create a brand new page.
If you’re working on setting up Business Manager – and you followed our recommendations above – it’s likely you’ll choose the first option, “Add a Page.”
So click on “Add a Page”.
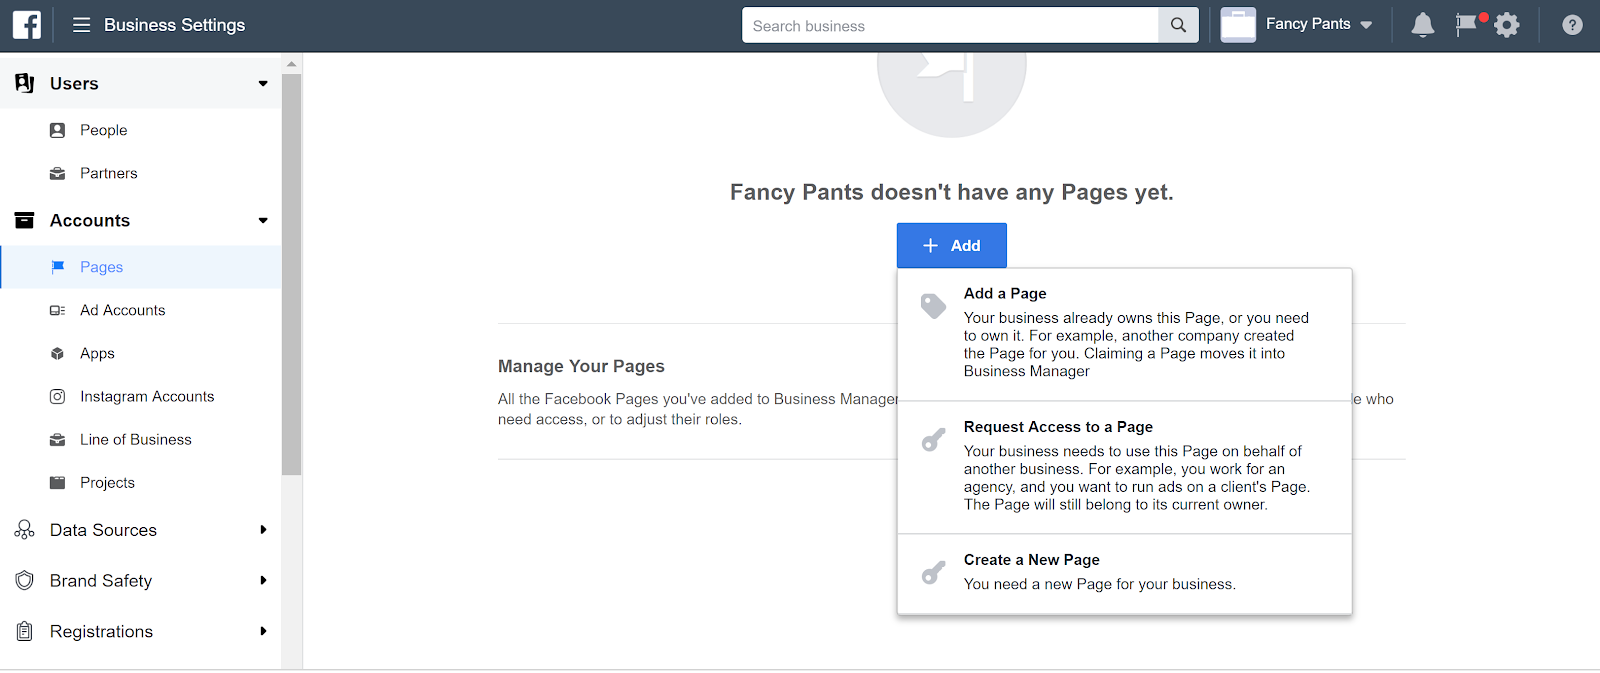
From there, put your Facebook page name or URL within the box. If you’re an agency you’ll likely be working with the second option, and requesting access to your client’s preexisting page.
Keep in mind you will need to have access to a primary page in order to request access to pages, ad accounts, and other assets.
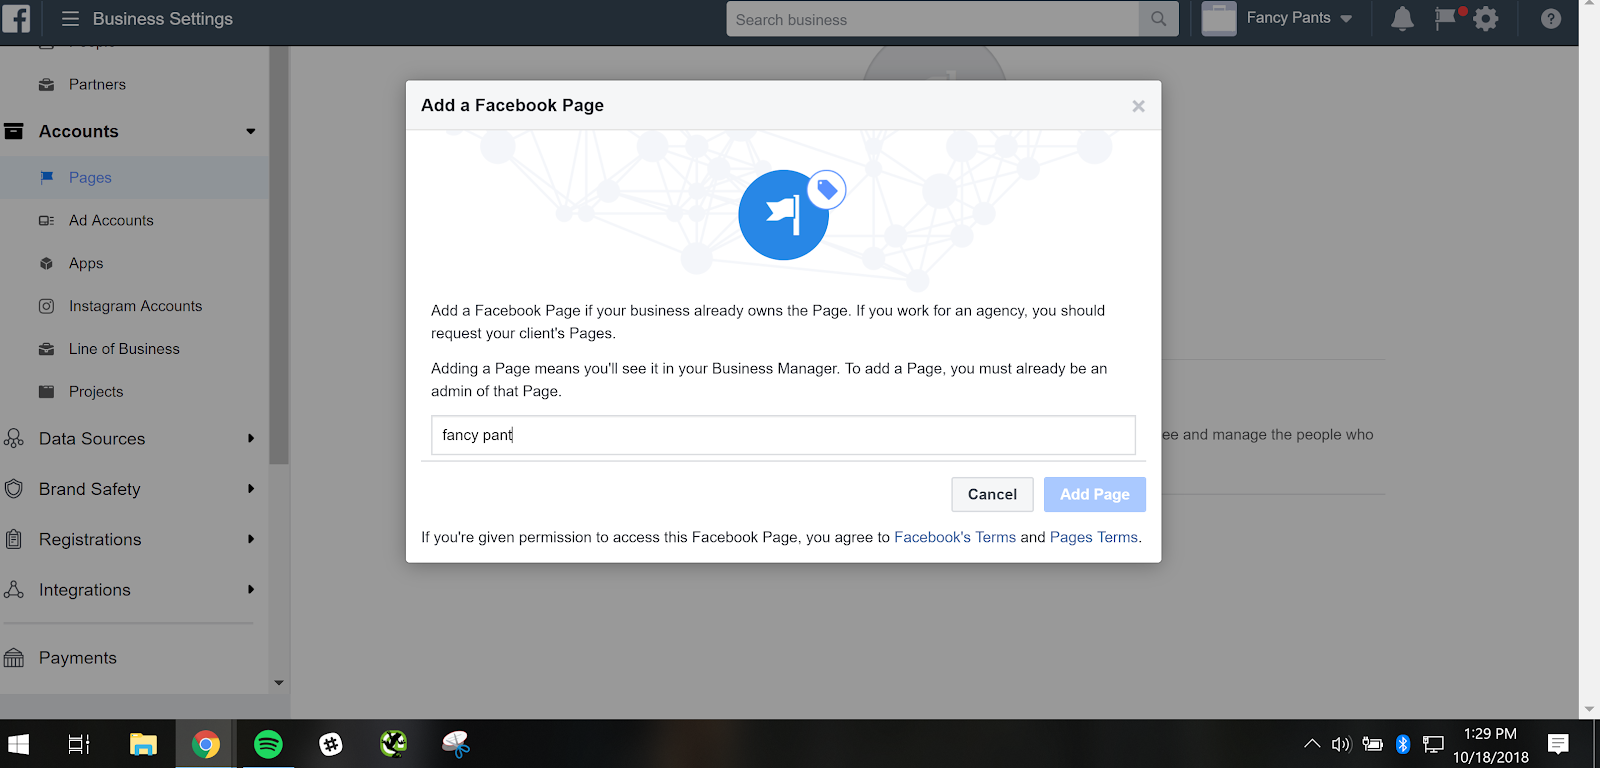
All options for Facebook Pages will auto populate as you type, making it pretty easy to get the right one.
Done. Next up, time to connect your ad account.
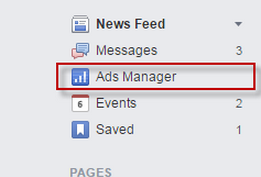
Step 1. Go to Ads Manager.
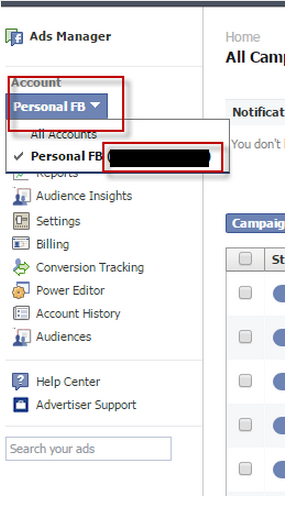
Step 2. Select your preferred advertising account.
Step 3. Select the button to “claim the ad account” for your Business Manager.
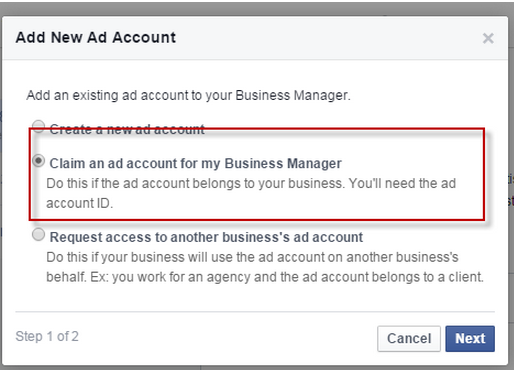
Step 4. Place your Ad Account ID within the “Ad Account ID” box in Business Manager.
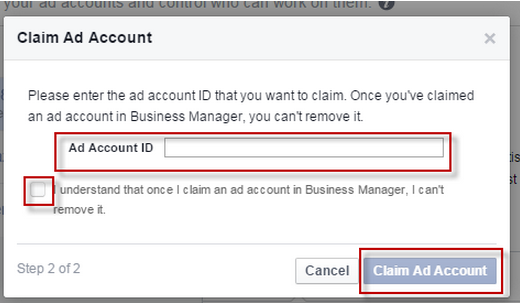
Once you’re set up there, let’s move on to the next important account: Instagram.
If you aren’t already using Instagram as a part of your marketing strategy, there’s no better time than now – especially because it’s so easy to manage within Business Manager.
First, select “Instagram Accounts”, then “+Add”.
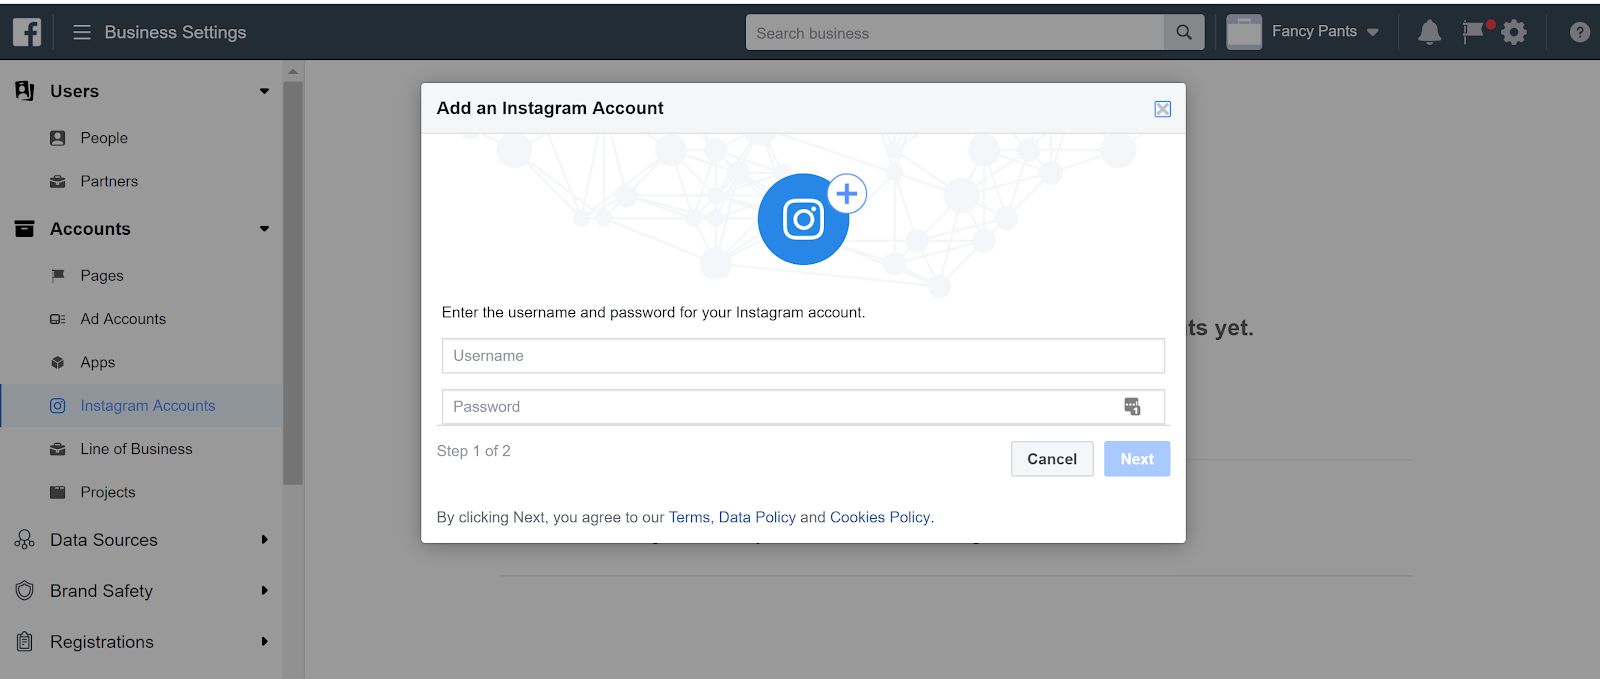
This is probably the easiest thing you’ll do all day. Add your Instagram Username and Passwords within the box, then click confirm. Done.
We’re lumping in “Line of Business” and “Projects” into this data section because they have a lot to do with your analytics measurements.
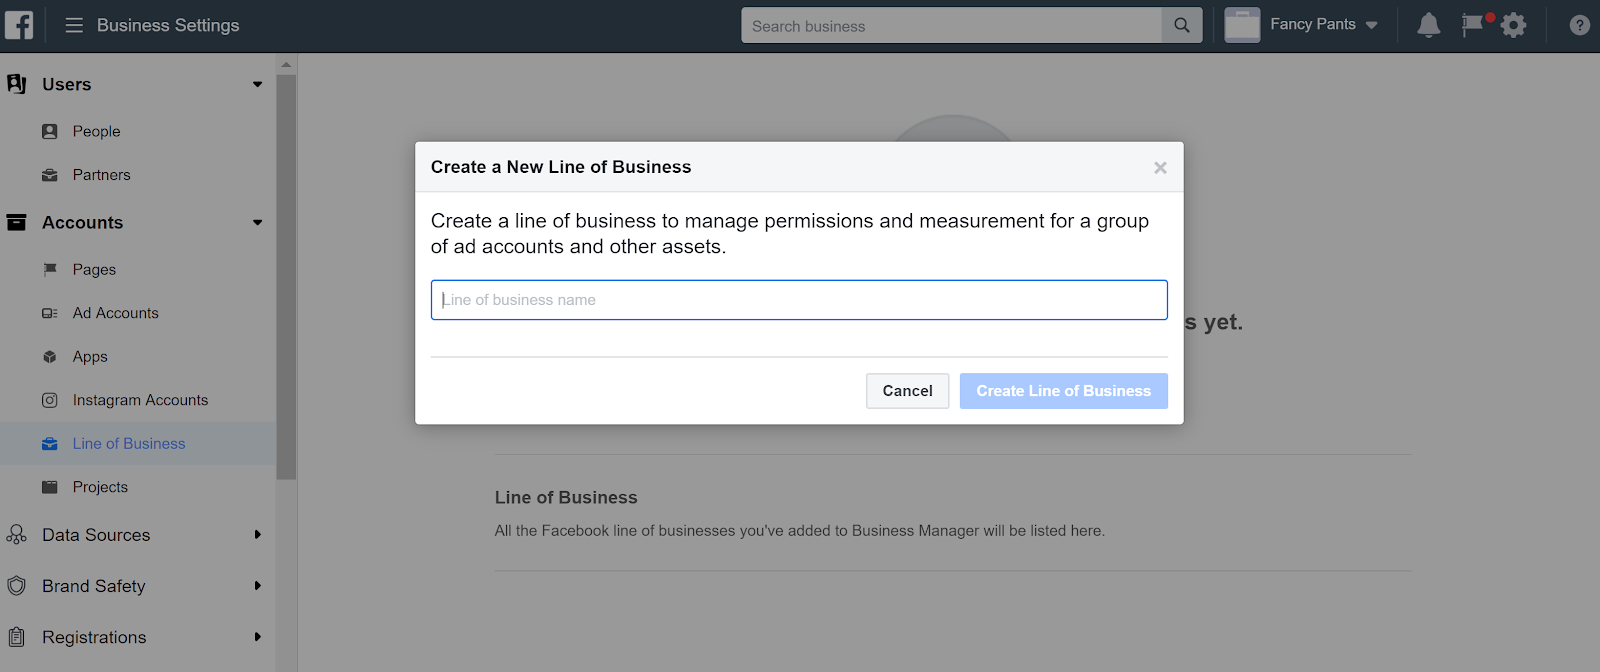
The “Line of business” feature gives you the ability to manage groups of assigned people, partners, and assets. The main point is to use these data sources for Facebook Attribution so you can slice and dice data to figure out your buyer’s journey.
You can create multiple Lines of Business, and manage people, partners, ad accounts, apps, pixels, offline event sets, and custom conversions within each one.
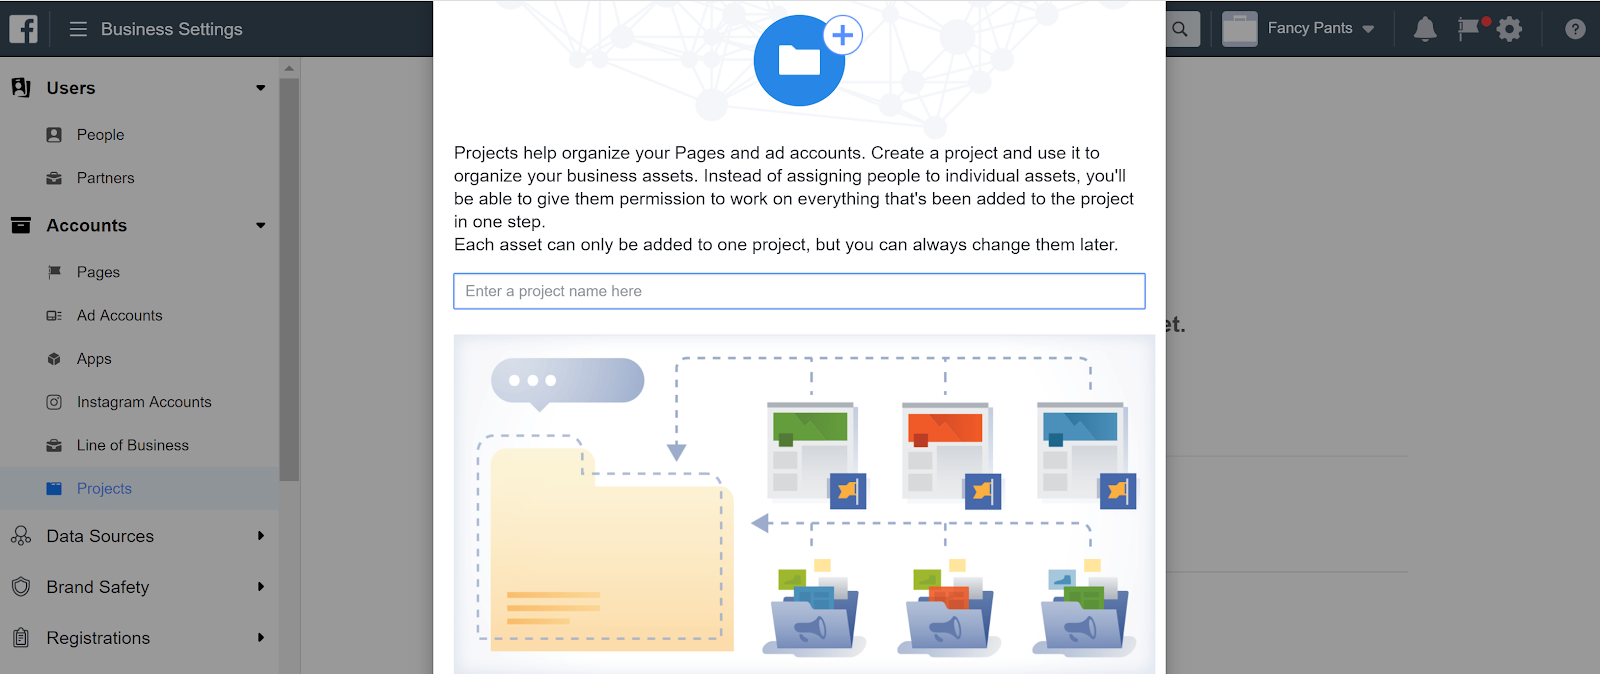
“Projects” on Facebook Business Manager give you the ability to organize all of your pages and advertising accounts. When you need to give permissions to another team member or partner (ex. an agency), you now have the ability to give them access to everything in the project, and not just individual assets.
Your “Catalog” is simply your company’s offerings. You are familiar with these if you’ve run Dynamic Ads on Facebook before. Possible feed types include:
You can either create a new catalog, or request access to a preexisting catalog.
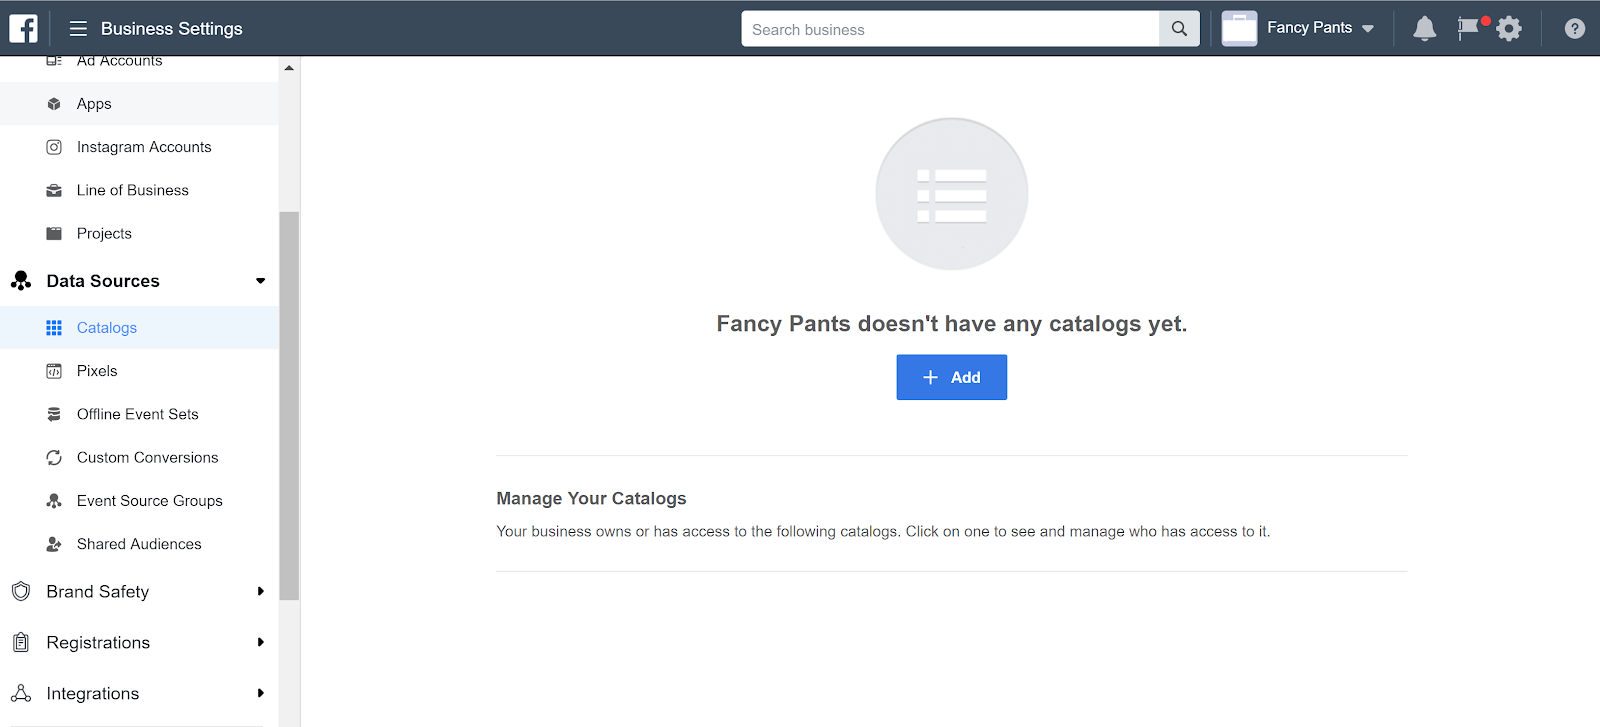
Note: If you are creating a new product catalog, you will need to visit “Catalogs > Product Data Sources”. See below:
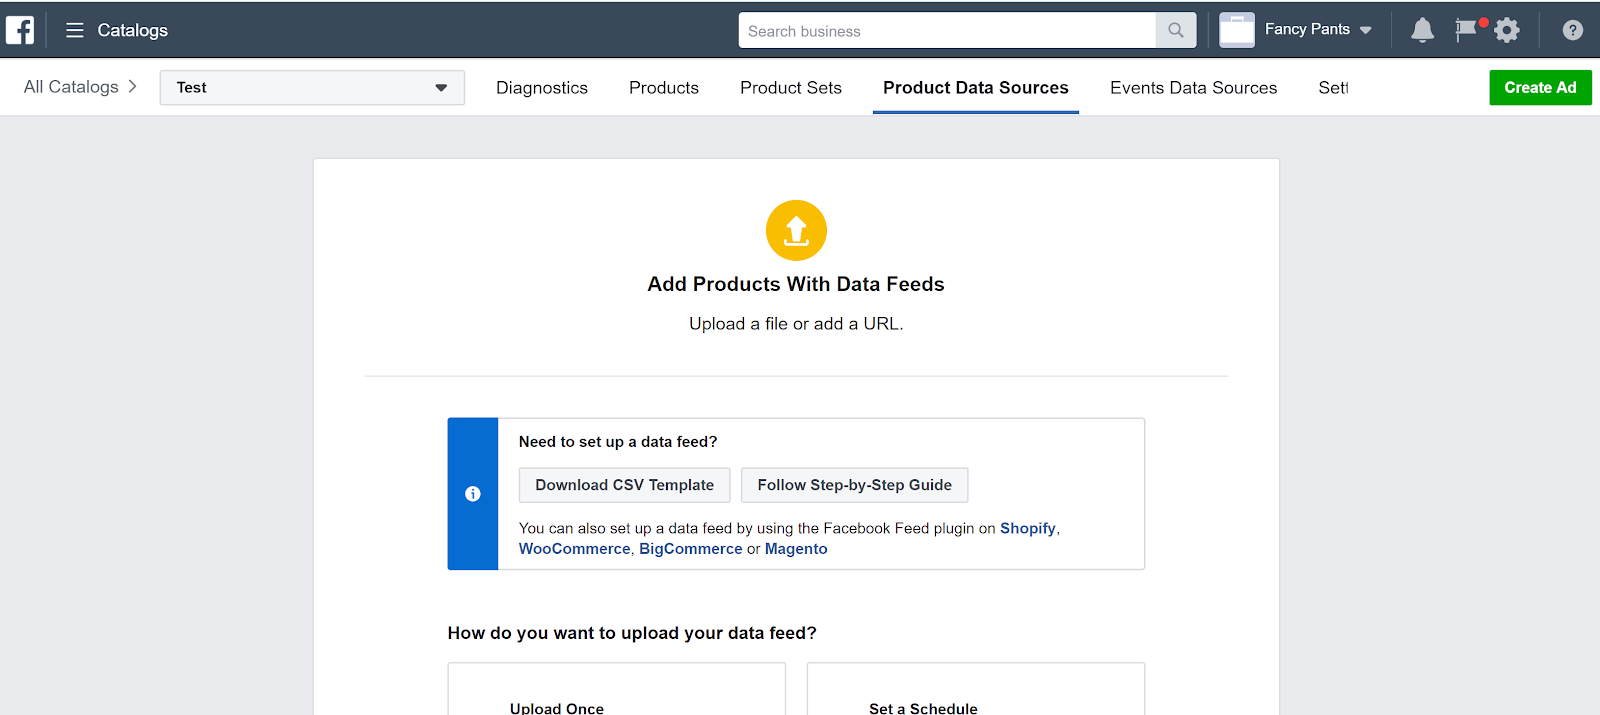
You can learn more about this in our blog post about setting up a product catalog and uploading feeds on Facebook.
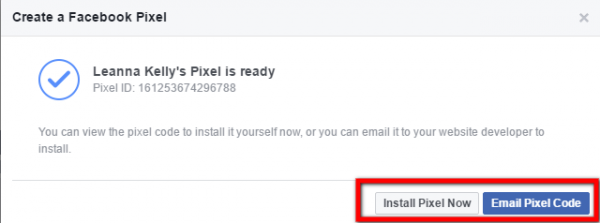
If you don’t have your Facebook Pixel set up, you are missing out on the most powerful ads out there; Dynamic Ads.
We could go on and on about the Facebook Pixel and how to set it up. And luckily for you, we have. We’ve even written about how to share your Facebook Pixel with an agency.
Make sure you know the Facebook Pixel is set up correctly before finishing this step. Otherwise, you could end up with invalid or skewed data.
Offline event sets simply means you can attribute events that don’t happen online to your Facebook ad campaigns.
You can do track these by uploading customer information in a .csv file.
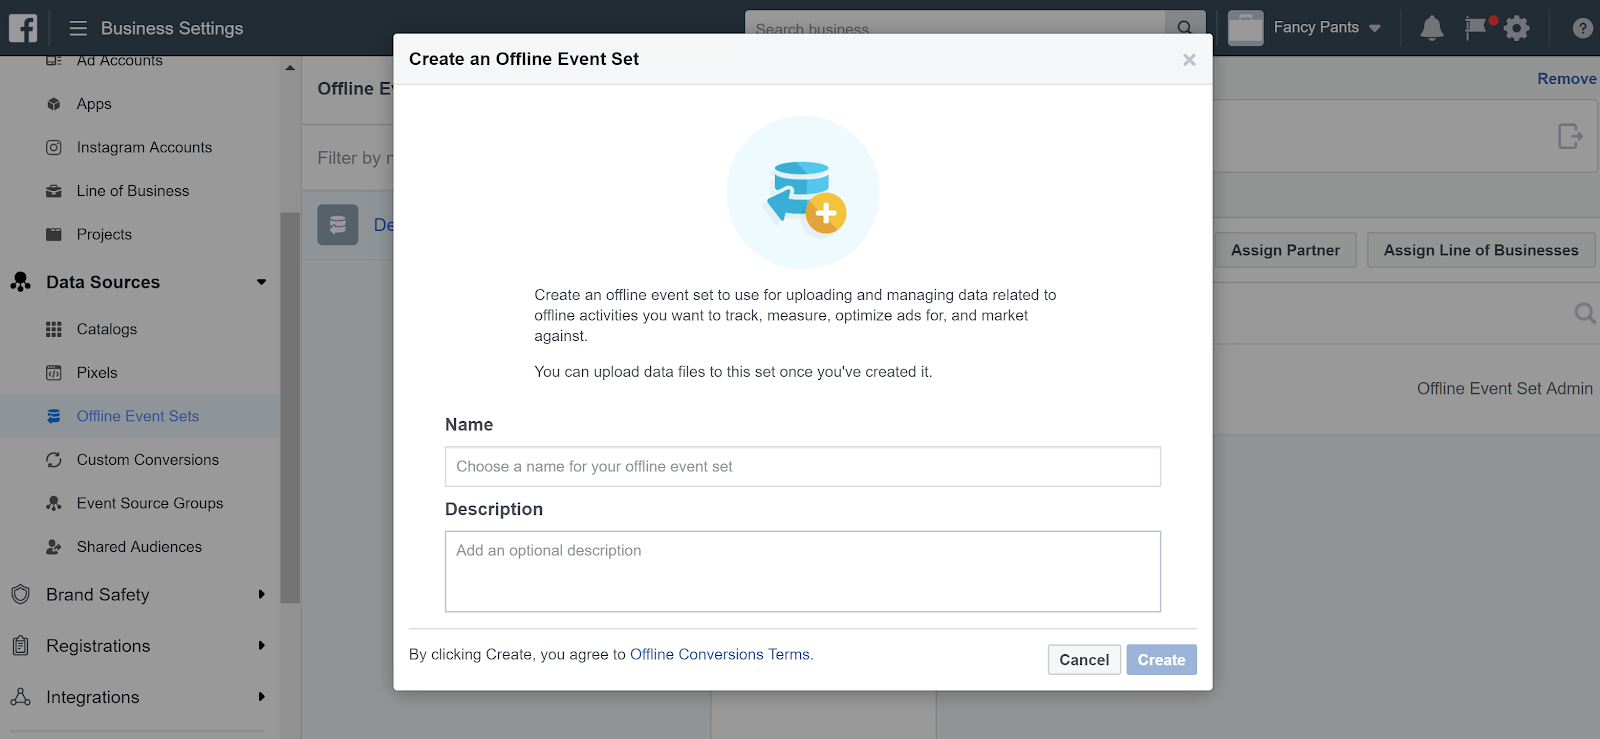
Facebook accepts the following data points:
Before you upload this file, it’s worth looking into Facebook’s event data best practices so you can get the best possible results.
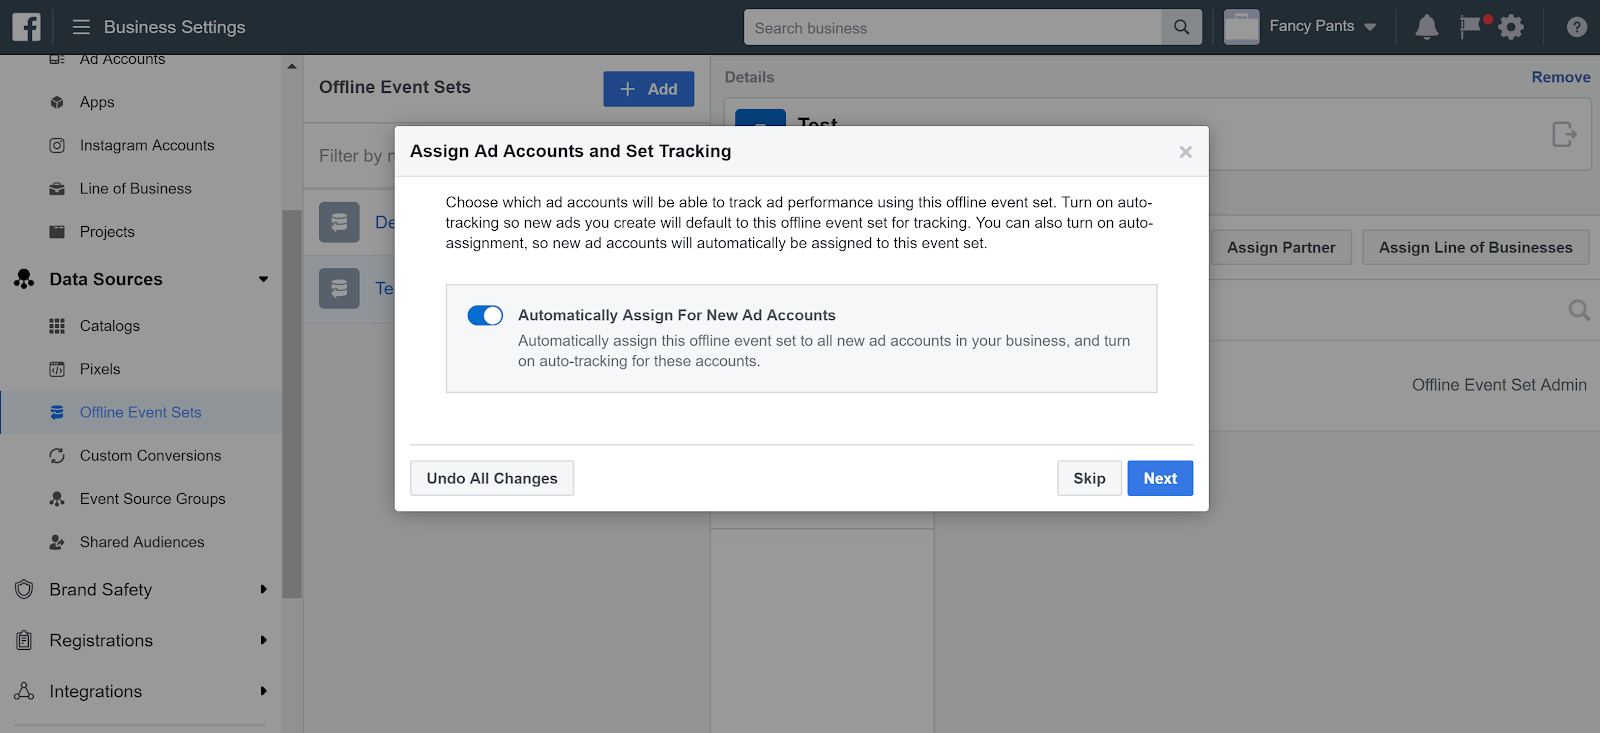
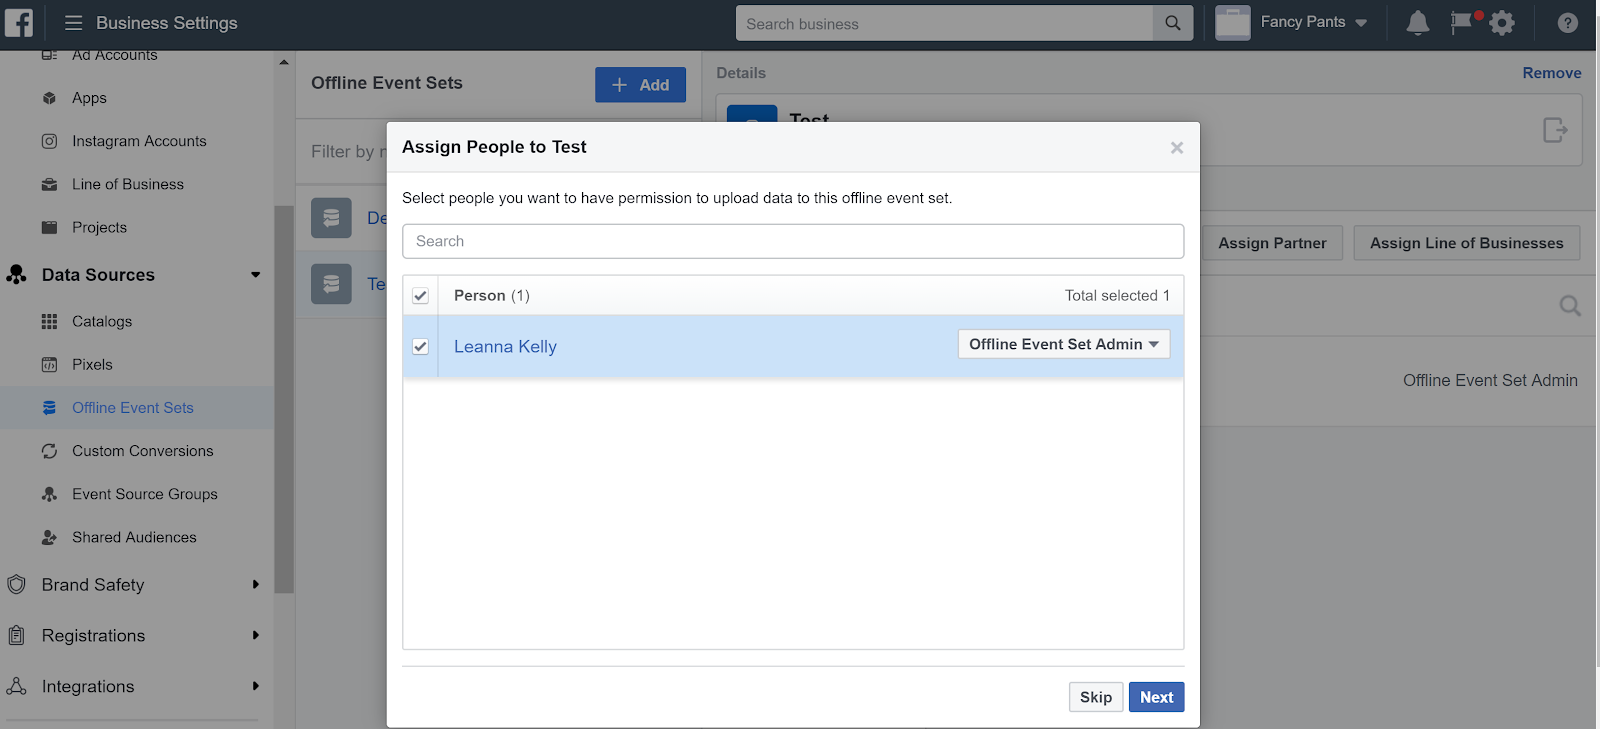
From there, you can assign ad accounts and people to the offline events and set tracking options. You also have the ability to toggle on an automatic assignment for new ad campaigns.
Custom conversions are optional – and they’re mainly important if you really want to measure different conversion events on your site separately.
For instance, perhaps you have three different products that you’d consider entirely different conversions, and don’t want those to count towards and overall total. All of these separate conversions would be recorded with a custom conversion.
Another example might be if you’ve implemented base code on your website, but you haven’t set up standard events. According to Facebook, you can “leave the code as is and create custom conversions using URL rules instead.”
This is where all of your pixel, app, offline event sets, and pages come together to build a complete shopper’s journey.
Select “+Add” to combine App, Facebook Pixel, or Page Data to for an event source group.
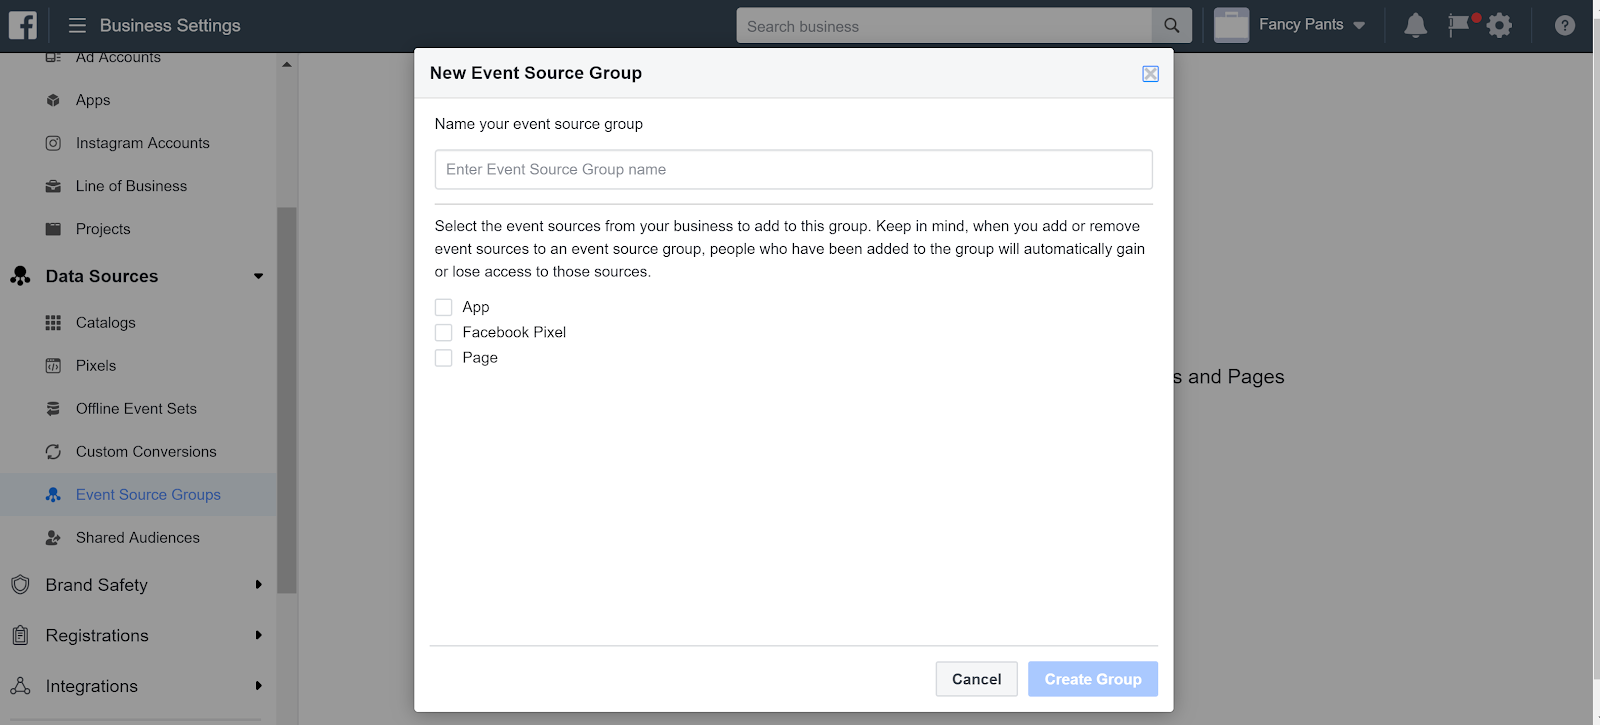
Basically, Event Source Groups allow you to view all app, pixel, and page data within Analytics.
For instance, if you’d like to see how many shoppers who shared one of your page posts and subsequently made a purchase, you can do that with the power of these combined data points.
Shared Audiences are helpful when you have multiple ad accounts, and want to include audience targeting options between both.
It’s also useful in an instance where you are migrating your website and need another Facebook Pixel, so you can share your audience data with your new ad account.
When you verify your domain, you’re given the ability to edit links to your domain. And it’s easier on Facebook than a lot of other platforms where you have to get into your website’s HTML – you have two options to verify your domain:
If this is gibberish to you, head to the Facebook for Developers page to get more detailed instructions.
The Facebook Ad Display Network is similar to other ad networks, where you can’t entirely control where your ads appear, but you can influence where they don’t appear.
That’s where Block Lists come in. You can block where your ads appear across the web – which is especially useful if you notice you’re popping up on inappropriate or completely irrelevant sites.
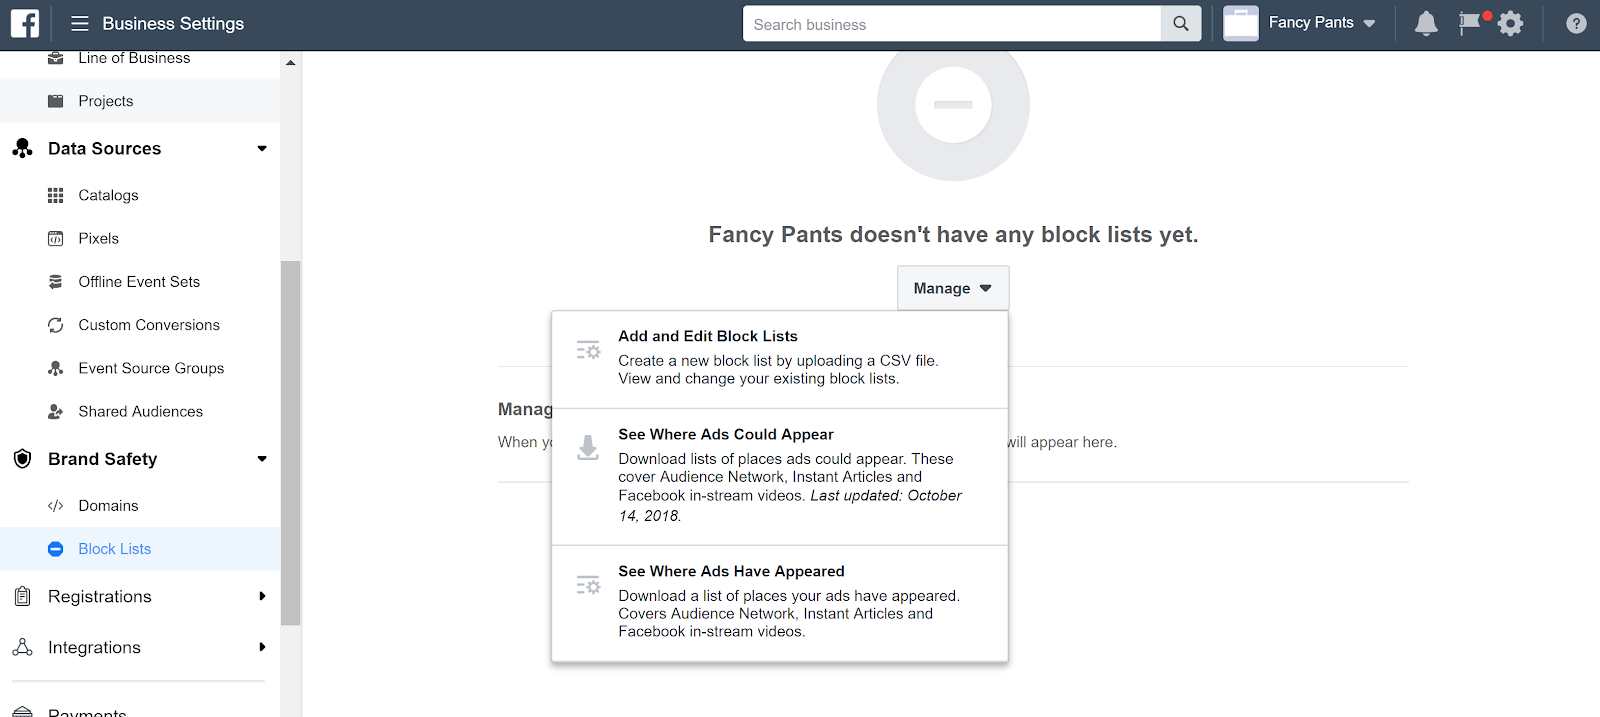
First, download a list to see where your ads could appear. (Once you have more data around where your ads have appeared, you can check that list, too.)
You’ll see something like this once you’ve downloaded that ZIP file:
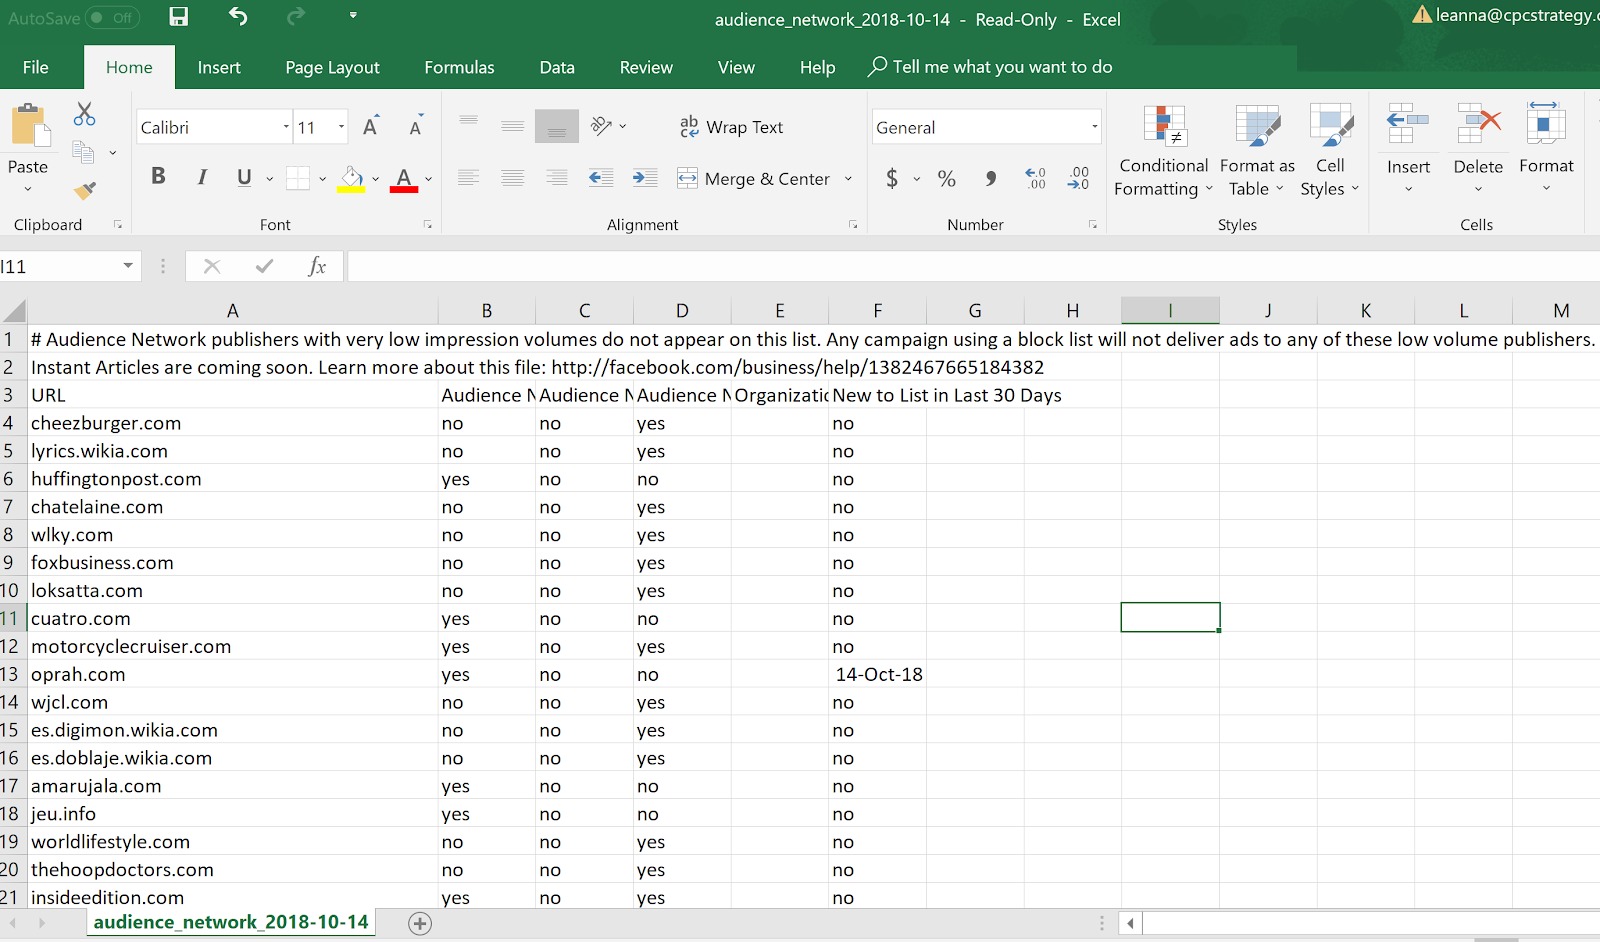
Then, copy/paste the undesirable URLs into the Business Manager’s blocked list for your account.
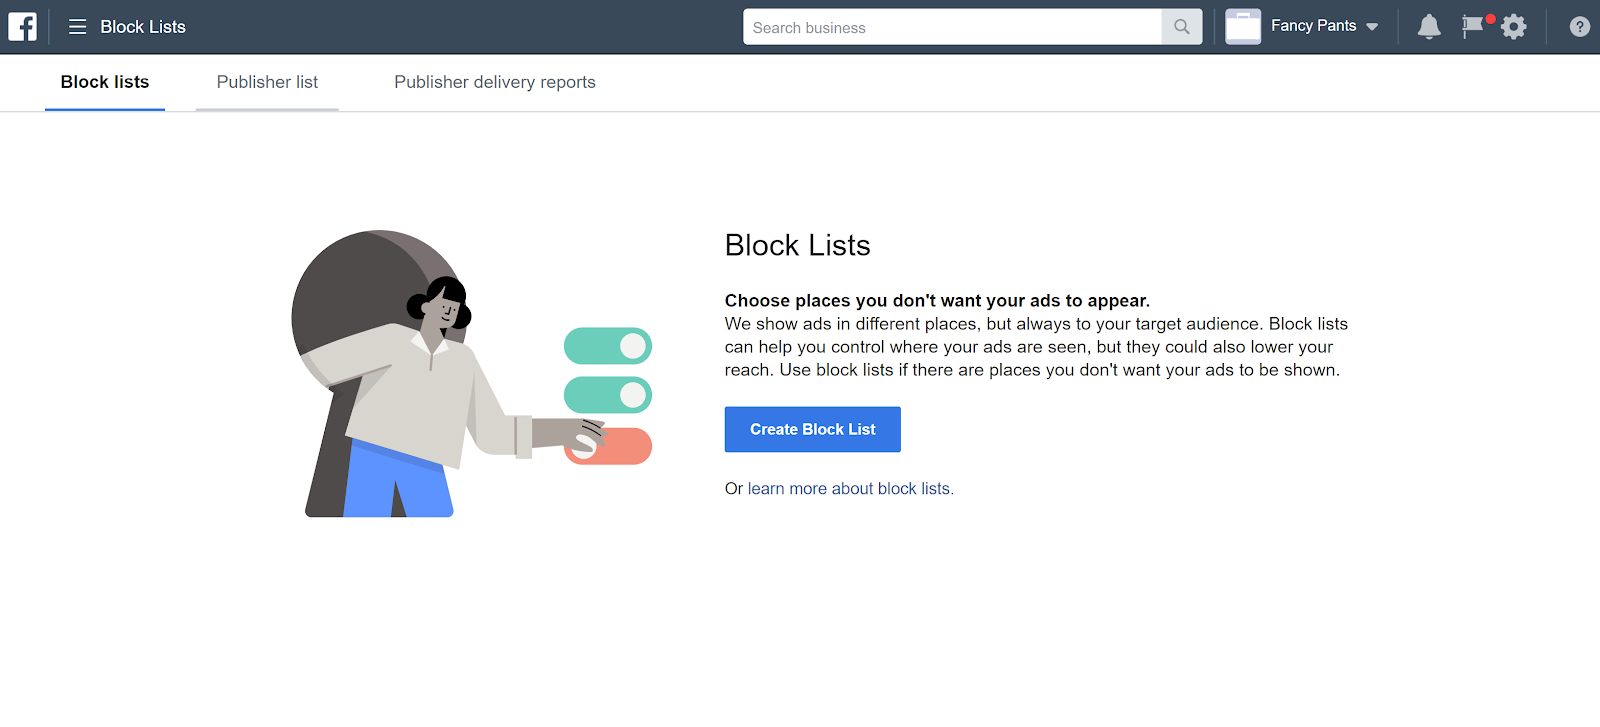
Here are Facebook’s requirements for block lists.
Your block list can contain:
Include one domain, app store URL or Facebook Page URL per line. You can include up to 10,000 lines.
Upload your file, then make sure Facebook approves your block list.
If you’ve set your Business Manager account up correctly, you should have more power and insights than you’ve ever had.
Not only will you be able to manage permissions and accounts like a pro (particularly useful if you’re an agency, but also useful if you’re a brand with multiple employees managing Facebook).
Additionally, you’ll have access to insights and analytics you’ve never seen before into the buyer’s journey, particularly in Facebook’s Attribution section. It’s those data points that can help you make strategic decisions to help your business grow and your customers buy for the long haul.
Want to learn more?
Facebook Ads Guide: Setup, Strategies And Tips From The Experts
