Set Up A Google Dynamic Remarketing Campaign In 10 Minutes


Below are steps to set up a Google Dynamic Remarketing campaign in 10 minutes.
Just enough time to boil some water for mac n cheese.
Before you start creating a Google dynamic remarketing campaign, your need to install the remarketing tag on every page of your site.
Here is an example code of the tag (Everything after the bolded text are optional):
<script type=”text/javascript”>
var google_tag_params = {
ecomm_prodid: ‘REPLACE_WITH_VALUE’,
ecomm_pagetype: ‘REPLACE_WITH_VALUE’,
ecomm_totalvalue: ‘REPLACE_WITH_VALUE’
};
</script>
<script type=”text/javascript”>
/* <![CDATA[ */
var google_conversion_id = XXXXXXXXXX;
var google_conversion_label = “YYYYYYYYYY”;
var google_custom_params = window.google_tag_params;
var google_remarketing_only = true;
/* ]]> */
</script>
<script type=”text/javascript” src=”//www.googleadservices.com/pagead/conversion.js”>
</script>
<noscript>
<div style=”display:inline;”>
<img height=”1″ width=”1″ style=”border-style:none;” alt=”” src=”//googleads.g.doubleclick.net/pagead/viewthroughconversion/XXXXXXXXXX/?value=0&label=YYYYYYYYYY&guid=ON&script=0″/>
</div>
</noscript>
Once you set up your Google Dynamic Remarketing tag, you can verify it is set up properly using Google Tag Assistant. You also have the option of using Google Tag Manager
You can also reference Google’s Dynamic Remarketing initial setup steps.
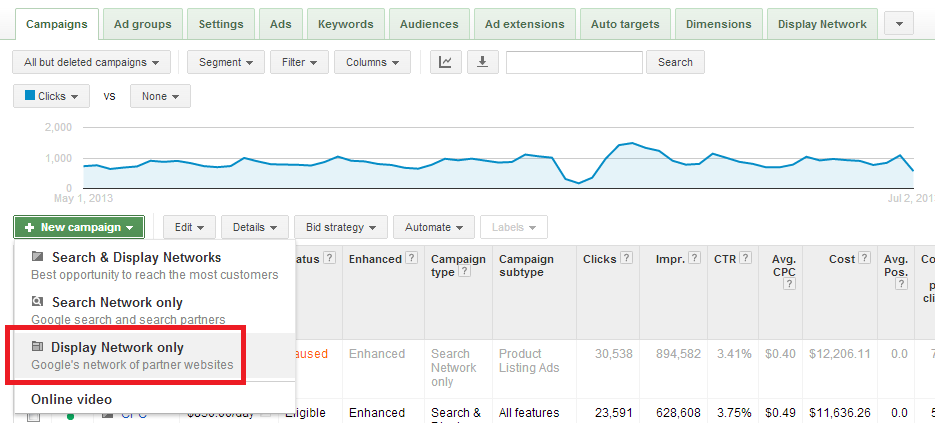
Here is a close up of that same tab:

Save and continue.

For more details on Google Dynamic Remarketing ad rotation and frequency capping, view this resource.
Save and continue.
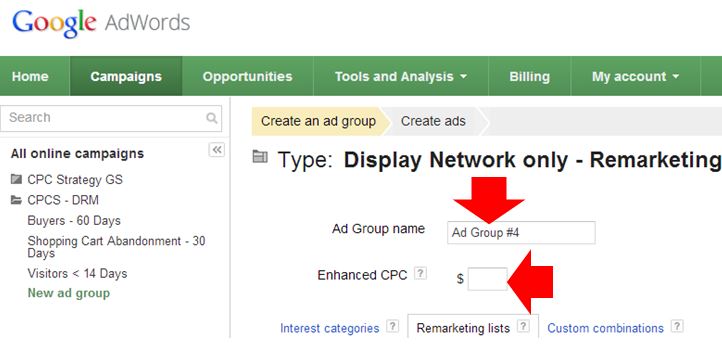
Google Dynamic Remarkting lists are segments of users who have visited your site. Google shows remarketing ads to groups of visitors based on what they viewed.
Select Interests & remarketing> remarketing lists, and use the >> arrows to add different user groups as selected audiences:
Save and continue.
You can get even more granular with your ad groups if you like by segmenting by other variables:
Google will populate the ad sizes, which you will be able to preview before saving.

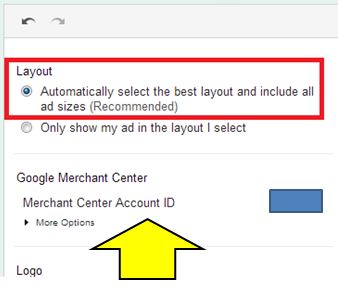
Click Done and Save ads.
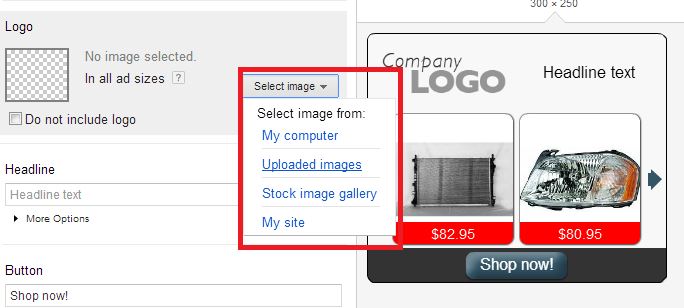
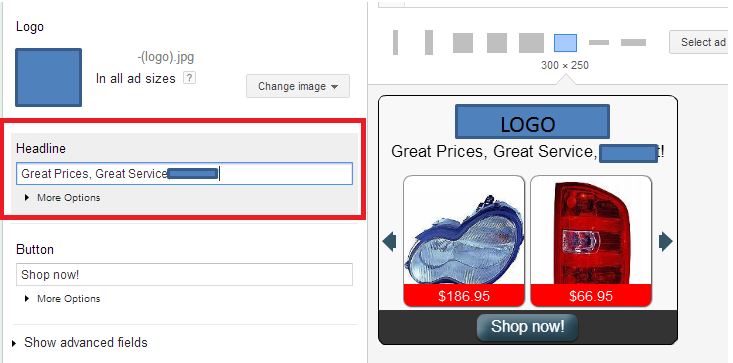
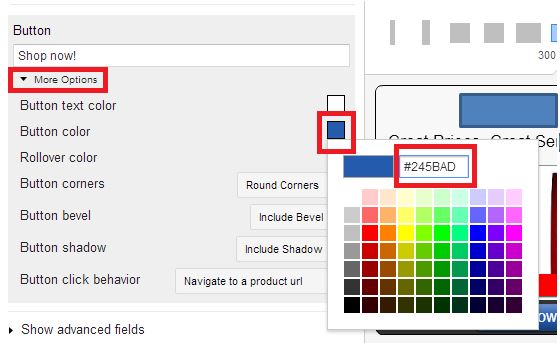
(Note this image is edited to protect retailer identity)
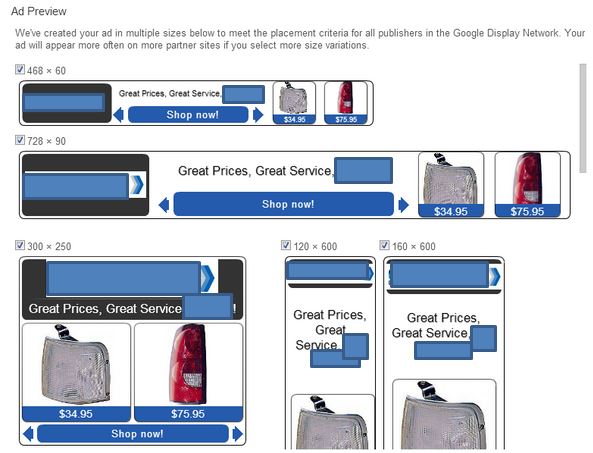
Annnd now you can eat that mac!
*This is an overview of the setup for a Google Dynamic Remarketing campaign, for a more in-depth resources check out:
Check out the Google Dynamic Remarketing Guide Book!
