Tired of shoppers abandoning their carts? Want a way to remind old leads of those products and services they almost purchased?
Then retargeting is the answer — and thanks to Instagram, these efforts are now more effective than ever.
But what is retargeting and how can you use Instagram to make it work for your brand? Let’s dive right in and learn more.
What is Retargeting?
Retargeting is one of the most effective ways to convert leads in today’s digital space.
Also referred to as “remarketing,” it’s a strategy that involves taking old leads — people who once visited your website, clicked an ad or put a product in their shopping cart — and reaching back out to try and convert them once again.
They’re essentially reminder ads designed to eke more sales out of the dozens of already existing leads and audiences you have floating around out there.
And because only about 2% of initial web traffic results in conversions on the first go-round, retargeting comes with loads of potential to not only up your sales and customer base, but your profits, too — especially if you invest in regular, consistent efforts across all channels.
How to Retarget on Instagram:
Because Instagram is owned by Facebook, the first step is to install the Facebook Pixel on your website.
The full details are listed here, but here’s the gist: log into your Business Manager account, name your pixel and follow the prompts.
You’ll then need to install a snippet of code in the HTML of your website. (If your site is based on something like WordPress or Shopify, this is usually just a quick copy-and-paste task. If not, you may need your website manager or a developer to help.)
Once you’ve got the pixel all configured, here are your next steps:
1. Create a custom audience
This will be the audience you want to retarget your ads to. You can create the custom audience based on your website or app activity or from a custom list you import manually (from your email software, CRM or just a spreadsheet of phone numbers, emails or user IDs).
Try to create these audiences based on the action you want them to take on your ad. Creating an Instagram ad about a specific product? Maybe target users who have visited that product’s page on your website in the last 30 days.
Using the ad to promote your new app? Consider targeting users who downloaded your last release.
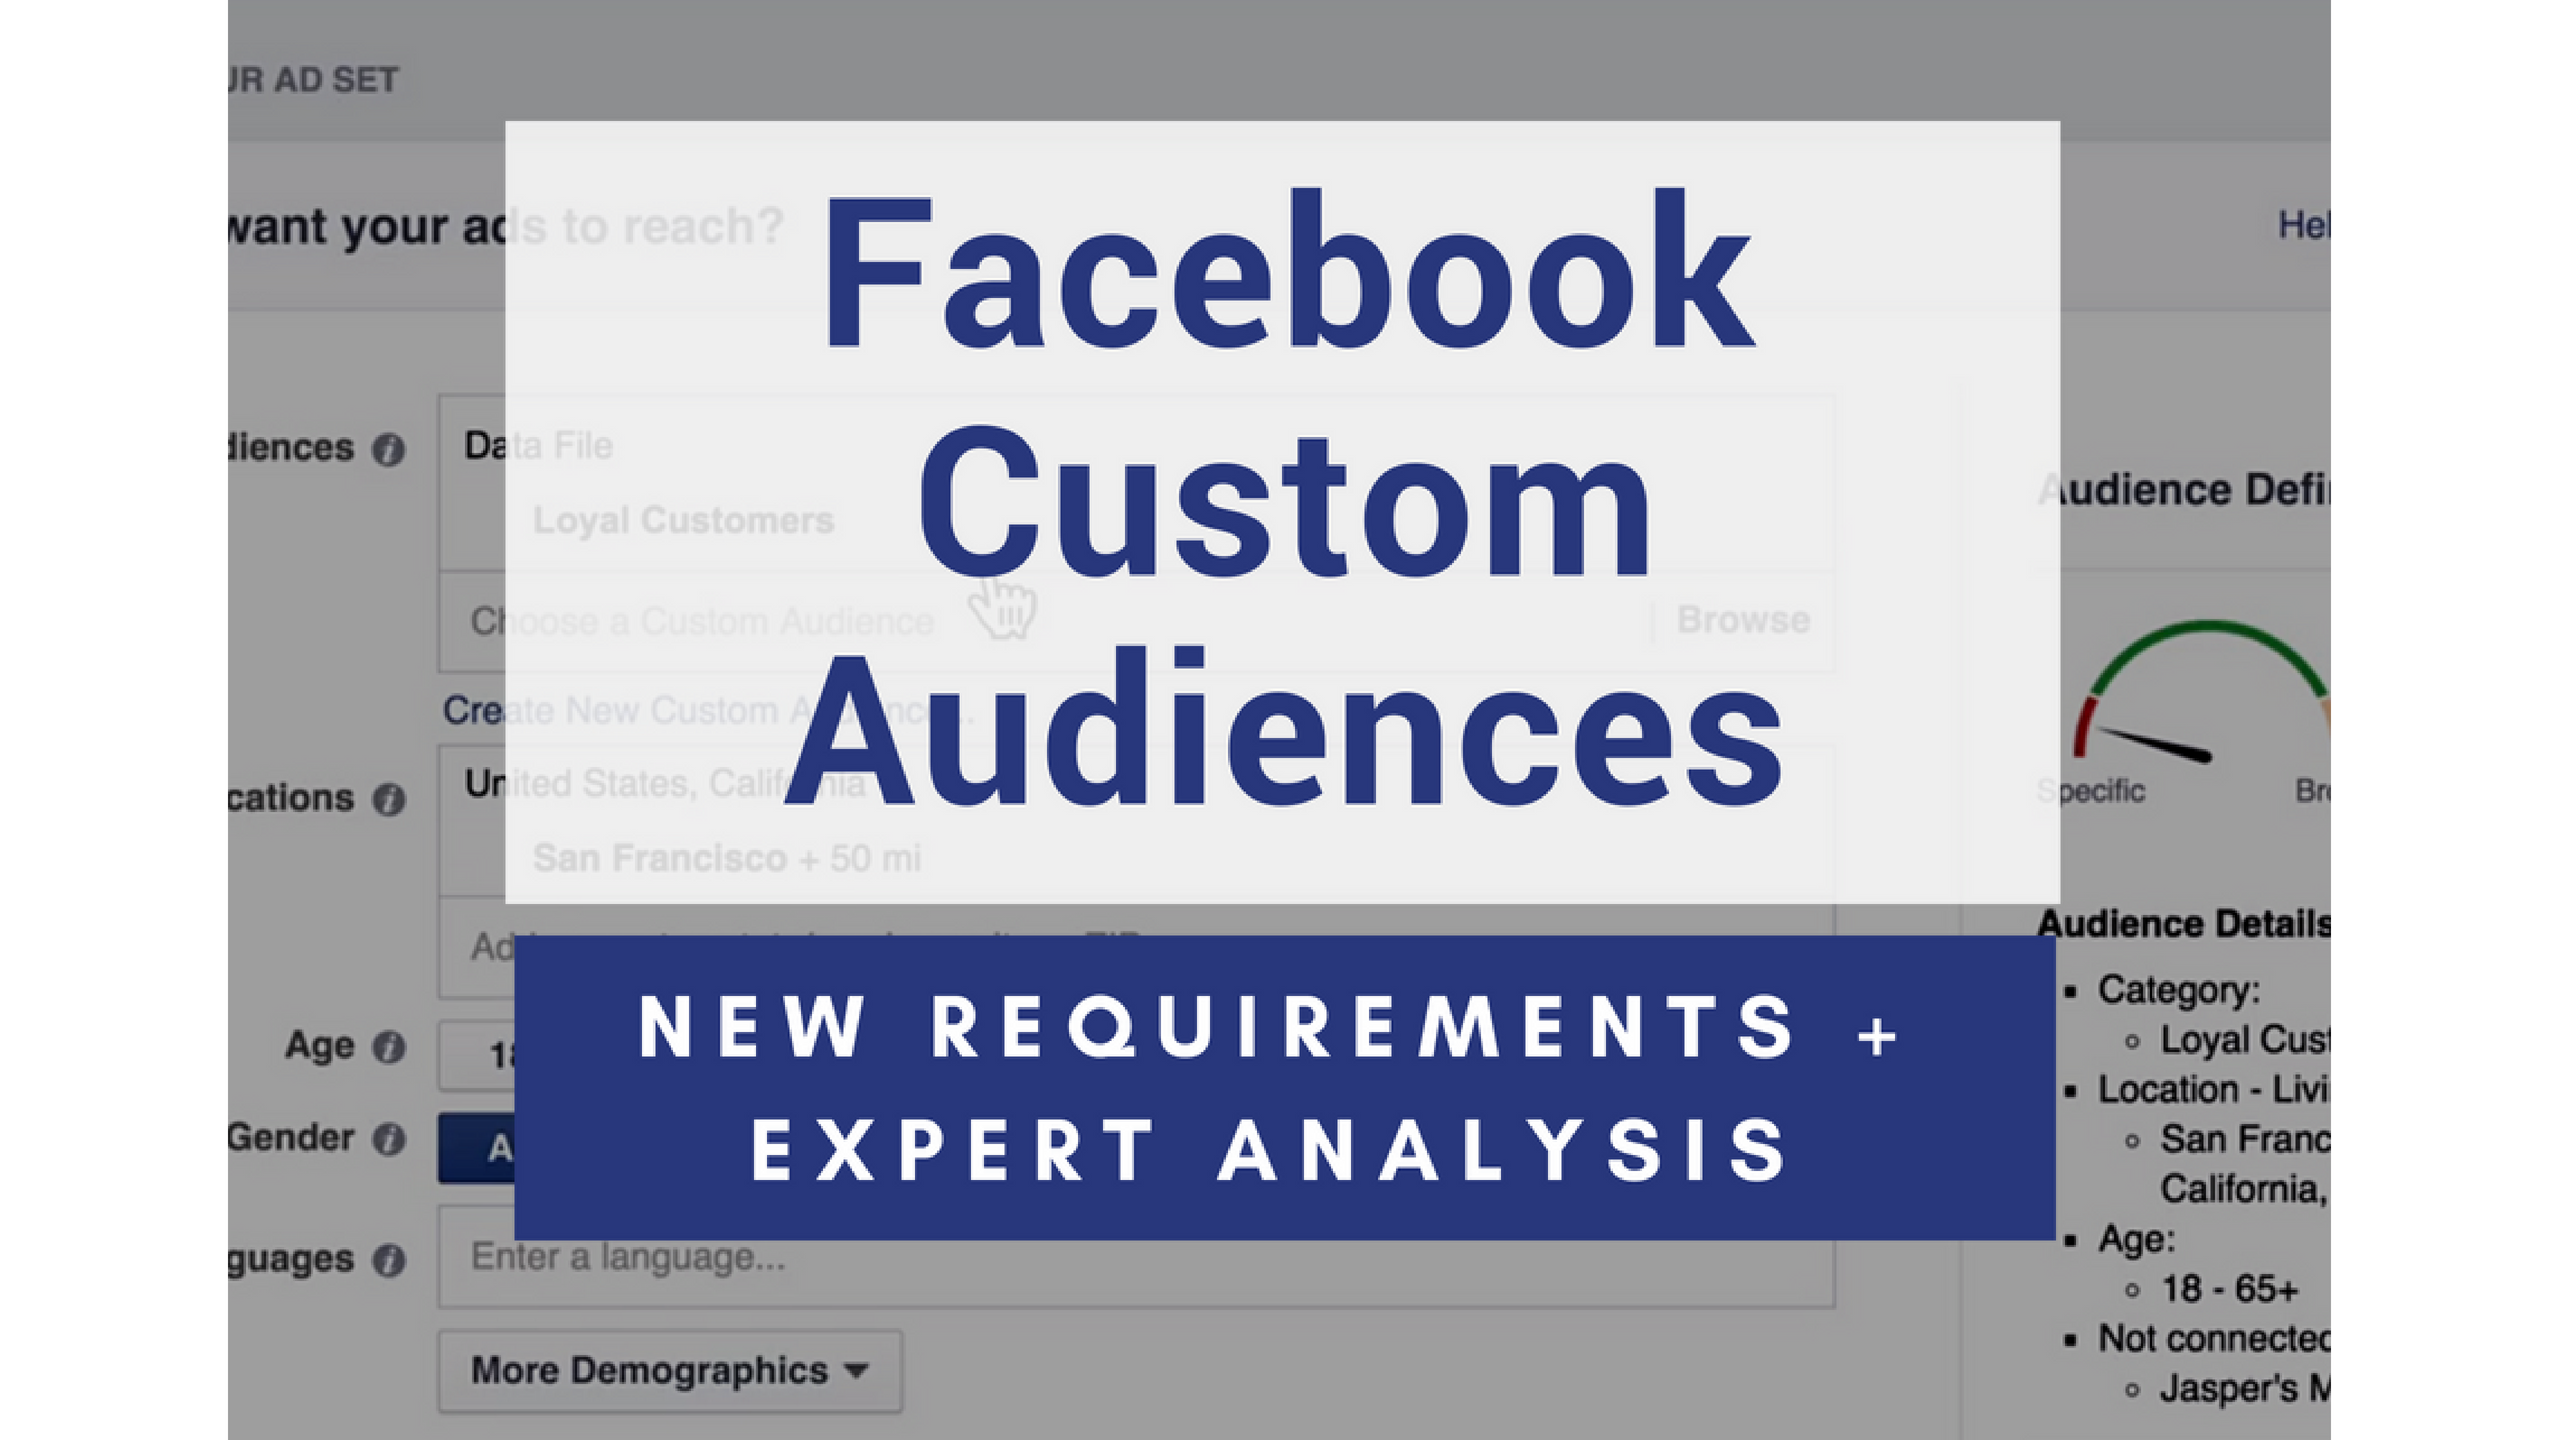
Pro-Tip: Facebook announced new requirements for uploading and sharing custom audiences that went into effect on July 2nd, 2018. Below is a quick overview of what to expect with the new changes to custom audiences with opinions from the experts.
“The process is a relatively minor change. Facebook is finally policing their functionality after five years so that the responsibility shifts to the advertiser and off of Facebook.”
-Justin Lofton, CEO at SyncSumo
2. Create your campaign.
Go ahead and create a new ad campaign, and choose your objective. You can opt for website clicks, website conversions, mobile app installs or video views — whichever matches your goal best. Once the initial campaign has been created, it’s time to start your ad set.
Set your budget, select your advertising schedule and choose the custom audience you created earlier from the “edit audience” tab. Hit save, and move onto placement.
This is where you’ll select Instagram as your platform, and you’ll see a total potential audience reach in the top-right corner. If all looks good, you’re ready to move onto the design phase. (If you’re not happy with the audience potential, you can go back and expand/edit your custom audience from step one.)
3. Design your ad.
Next, it’s time to add in the creative assets. This is just like creating any traditional Facebook ad; you’ll upload an image or video (a 1080 by 1080 ratio is recommended), specify a target URL, add text (AKA your caption) and put in a preferred call to action.
Once you’ve uploaded all your assets, you’ll see a preview and can make edits if needed. If not, you’ll approve, and your ad is ready to go.
4. Launch the ad.
Finally, you’ll hit the review changes button, give your ad one more look-over, and follow the prompts to launch it into cyberspace. As with any marketing effort, you’ll want to watch your metrics from the campaign.
You might need to make edits to various creative elements or your audience if you aren’t seeing the results you’d hoped for. Tweak, edit and change, and remeasure again until you see the conversions you want.
Dynamic Ads for Instagram
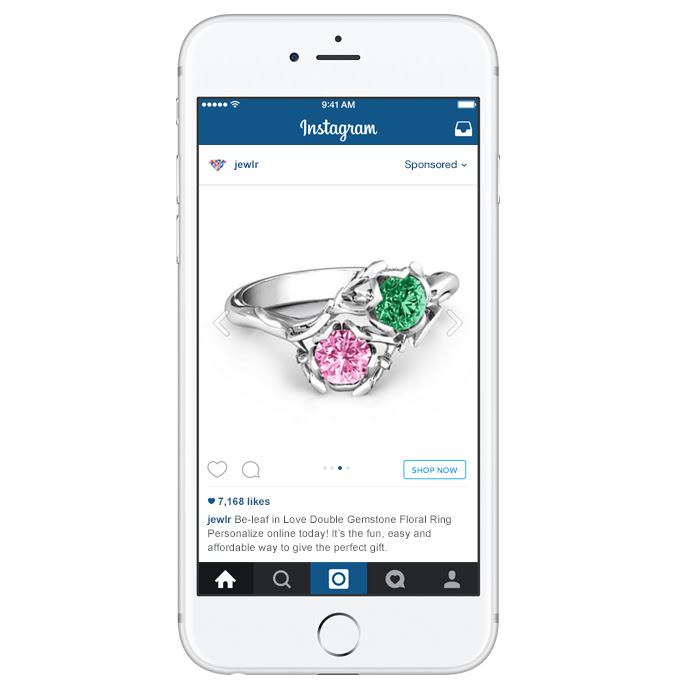
Instagram Dynamic Ads (introduced in 2016) automate product advertising by showing people ads featuring items they’ve expressed interest in—either by viewing it or adding it to their cart—or items related to ones they’ve shown interest in or purchased.
Now businesses using Dynamic Ads can easily connect with more potential customers on mobile.
“Dynamic Ads on Instagram should hopefully lead advertising on this platform closer to the bottom of the funnel with this new ad format. I’m interested to see if these perform better from a last-click conversion perspective,”
– Josh Brisco, Manager Retail Search Operations at CPC Strategy
More than 2.5 billion unique products have been uploaded to Facebook. Now, by extending Dynamic Ads to Instagram, advertisers can promote relevant products to shoppers who have browsed their website or mobile app across two platforms where people spend much of their time—Facebook and Instagram.
While many advertisers already use Instagram to promote their products, manually tailoring ad creative and targeting for every product in their catalog is time-consuming.
Now with Dynamic Ads, advertisers can showcase every one of their products automatically with dynamic creative and targeting, so they can show the right product to the right person every time.
Want to learn more about how to retarget on Instagram? Email [email protected].
You Might Be Interested In


