Google Analytics 4 Guide: What’s New & Important for GA4? [2023]

Google Analytics 4 (GA4) marks a major shift in thinking about how web and app properties are tracked. Formerly called “App + Web properties” in beta, Google Analytics 4—announced in October 2020—builds upon the foundation of cross-device unified measurement introduced in July 2019.
GA4 is a new Google product that allows for Web and App data to be collected separately, or in one continuous property. GA4 is designed to replace both Universal Analytics (UA) and GA360, which will be deprecated in 2023. UA accounts will stop collecting data effective July 1, 2023, while GA360 accounts will stop collecting data effective July 1, 2024. At that time, GA4 will become Google’s sole analytics platform.
Acknowledging the increasing overlap between web and mobile app development and content—as well as answering marketers’ needs for unified data—Google Analytics 4 seeks to eliminate the need for manual stitching and workarounds between platforms.
Although Universal Analytics (UA) tracking is available until July 1, 2023 with historical data available for an additional 6 months later, it’s important to recognize GA4 as “the new Google Analytics.”
GA4 is not simply a redesign of Universal Analytics (UA); it’s an entirely new product that can be installed in addition to your existing UA profile. That said, if you’re setting up GA for the first time, GA4 is the “latest version” that superseded UA as the default analytics platforms in October 2020. UA can still be installed, but GA4 is to be considered a Google Analytics update.
Previously, Analytics was divided between web properties (traditional Google Analytics) and Analytics for Firebase (to specifically cater to app needs). Perhaps most importantly, Google Analytics 4 seeks to set property owners up with flexible, yet powerful analytics tools within the bounds of cookieless tracking and consent management.
In other words: Google Analytics 4 is ready for the future, and the future is now.
Absolutely—assuming you already have an existing Universal Analytics profile. GA4 implementation does not necessitate removing your existing GA setup. You’ll want to keep that in place for all that valuable historical data, with the insights you garner from GA4 working in complement with it.
If you are setting up Google Analytics for the first time, you can get started right away with GA4; there is no need to create a new, separate Universal Analytics profile, as those will sunset in July 2023.
A number of important changes have taken place in the evolution of GA4 and the growing restrictions around data privacy. A few key items that have changed—and not just for GA4, in some cases—include:
IP logging has been deprecated as a whole, and all processing for locations will happen and be passed through to GA. This meets GDPR requirements and ensures no compliance issues arise in the form of transferring PII (personally identifiable information)
Previously, EU data was being moved to the States to be processed. This practice has been deprecated, and all EU data is processed within the EU, which also ensures GDPR compliance.
Launched in 2018, Google Signals is a product that collects data for users who have opted into Ad Personalization. This data is anonymized and made available to integrate into reporting, audience building, and more. Google Signals can be disabled for specific regions (Countries, specifically), while included for others. There are a number of reasons this control is important; while not necessarily a GDPR requirement, it allows entire regions to not be a part of intake. Reasons for this are typically socioeconomic and/or political
A number of data points including city, device information, browser versioning, and more were previously default. Some may prefer not to collect certain data points for the sake of being tighter on compliance risk. These previously default data points can now be specified regionally if they will be collected.
Our GA language is changing. While the reasons we use GA data largely remain the same, the available data—and the best ways to answer the questions at hand—have evolved.
A number of metrics that we’ve grown accustomed to in Universal Analytics have either changed or deprecated and been replaced with something new. Let’s explore a few of the most important updates…
Old user behavioral measurements are on the way out. Metrics including bounce rate and average session duration will no longer be available in GA4, requiring that we start using new metrics to understand behavior. These metrics include engagement rates and engaged sessions, which are more impactful in what they describe than previously available metrics.
While largely a change in name, the taxonomy changes slightly due to the deprecation of the category/action/label hierarchy of previous events.
It’s important to note that GA4 will count every instance of a conversion event—even if it’s occurred multiple times in one session. For instance, if the same user fills out a form 3 times in one session, that conversion will be counted 3 times. Previously, Goals could only occur once per session.
‘Views’ is used over ‘pageviews’ in GA4 due to the combined nature of web & app properties; ‘Views’ accounts for both screenviews and pageviews.
Repeated views of the same content are all counted, as always.
The definition of what creates a session has slightly changed; a session is now determined when a specific event ‘session start’ is triggered, which generates a session ID that is appended to each event that occurs within the session.
Sessions end after 30 minutes or the defined timeout period. Additionally, sessions no longer restart at midnight, or when new campaign parameters are encountered.
Bounce Rate was always based on whether someone’s session duration was 0. Engagement Rate measures in the opposite direction, communicating what we were always truly looking to learn from Bounce Rate: What percentage of people are actually interacting with the site?
While the two metrics are calculated differently, Average Engagement Time reports on what Average Session Duration was trying to touch on, but never quite got there: user focus on web or screenpages.
Universal Analytics’ data model is hit-based, characterized by sessions and pageviews. Pageviews are essentially the key to the ignition, being the starting point of data collection for Universal Analytics. In GA4, this proverbial key is instead made up of events.
GA4 is equipped with four different identity methods to help in creating a unified view of cross-device user journeys:
All data associated with the same user—or identity—is assigned to the same identity space. These identity spaces are used across all GA4 reporting, allowing brands and advertisers to de-duplicate their users list, and gain a richer understanding of their relationship and interaction with your business.
When you create Audiences in Google Analytics 4, they are automatically imported and become available for remarketing in Google Ads on the Google Search Network, Google Display Network, and YouTube. In Universal Analytics, advertisers had to recreate the audiences in Google Ads that had been created in Google Analytics.
GA4 is a step in the right direction when it comes to providing businesses with the insights that matter—and can be acted on—today, leveraging machine learning and AI components built for the nearing cookieless future.
GA4 opens the pathway to describe and collect data in the way that is most meaningful to each business. Limitations are far fewer, and strong-arming interaction into the constraints of old events becomes obsolete. Collect what you need, and analyze it at the level that is most meaningful.
It’s also notable that the free version of GA4 allows for free product linking. Previously, a GA360 license was required to link DV360, SA360, Campaign Manager 360, and BigQuery.
The single biggest advantage of Google Analytics 4 is the unified view between app and web.
Collection methodology is united to “events” with traditional pageviews on a more even scope with behavioral events. Prior versions of Google Analytics required separate tagging and separate properties, with inconsistent (by default) metrics and dimensions.
Keep in mind there won’t be historical or 24h+ data when you first get into the new GA 4, but you’ll start to see data populate over time.
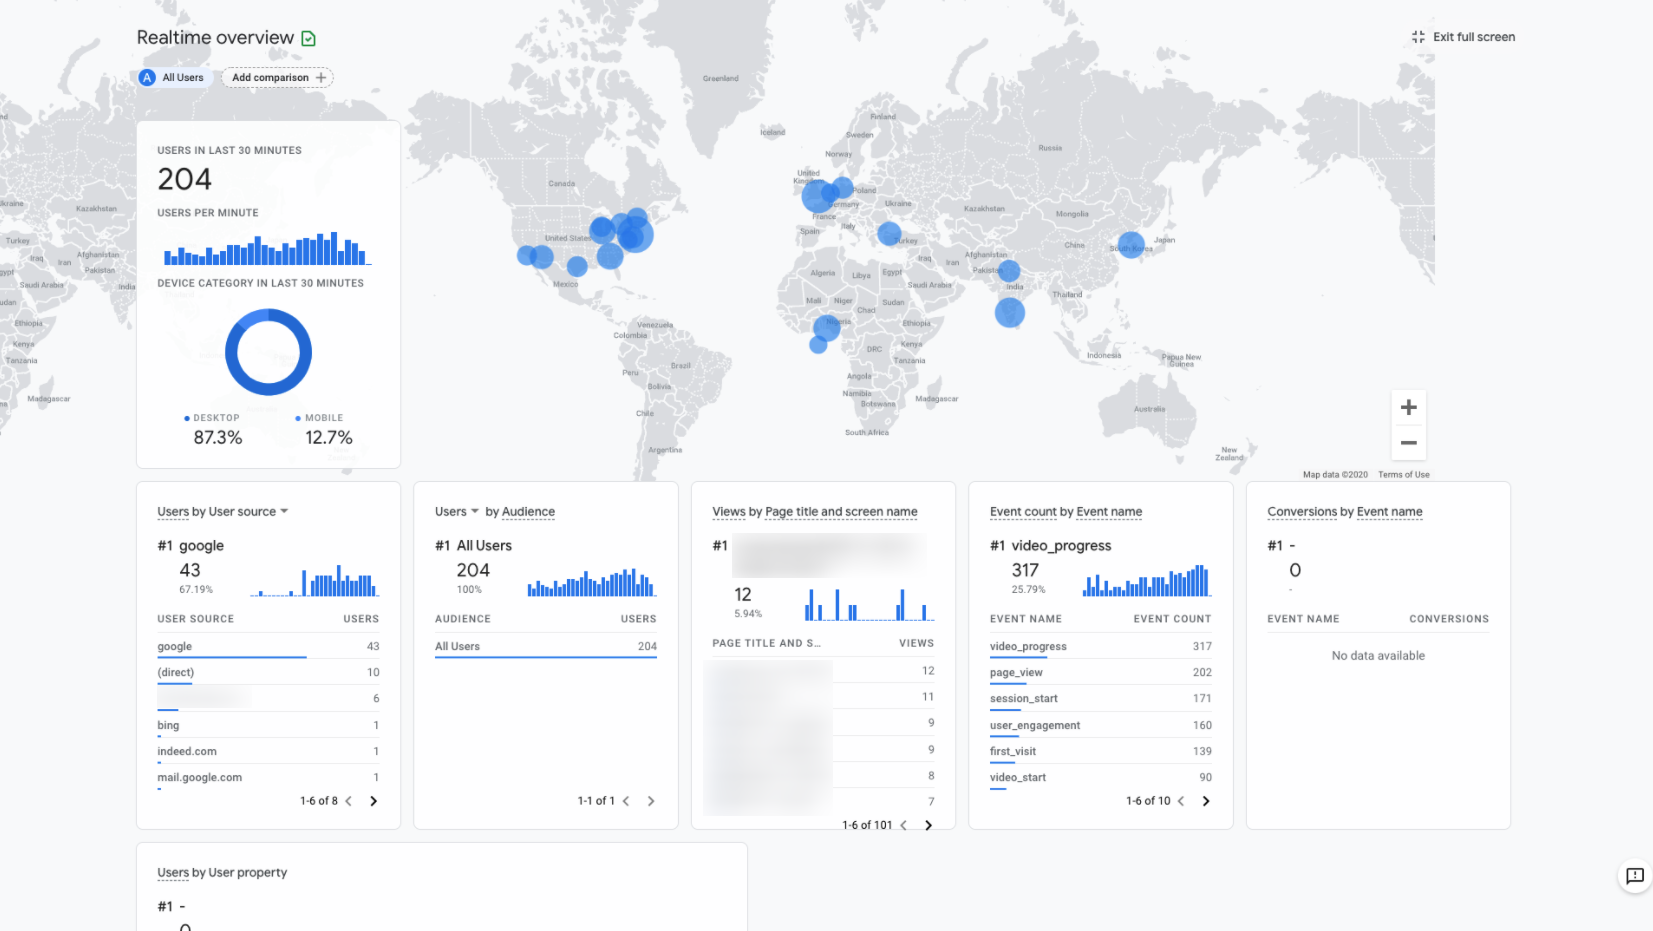
Perhaps more importantly to marketers and web analysts, with the re-scope of methodology, GA4 has brought several new reporting tools. The existing web and app reports have also been reorganized in the platform UI. Of course, the biggest benefit is the unified user view between app and website, but Google has also revamped their custom reporting tool to an “analysis hub”, which offers a bit more flexibility with custom and ad hoc reporting.
Unified user journey and reporting across platforms has been a difficulty since the dawn of app and web development. Google has answered (finally!), and seems to understand that these needs will continue to increase, especially with the challenges of data collection.
As 3rd-party data collection is criticized by privacy advocates (and we observe certain platforms implement tracking restrictions), Google is prepared to shift towards using anonymized first-party data, along with consented tracking. By unifying properties, collection scopes, and announcing significant server-side capabilities, Google is shifting away from client-side dependencies.
Over the last few years, we have seen Users and Sessions physically change places in GA. This subtle shift was a nod to the future, encouraging marketers to begin tracking towards users over session by session data.
This shift is fully realized in GA4. Event-based tracking over hit-based tracking allows for flexibility and granularity of data not previously possible. Old required categories, like Category/Action/Label, are deprecated, and all interactions with a website are ingested at the same level of granularity.
A pageview happens at the same level of detail as a link click—as scroll depth is tracked, as conversions are recorded. This level-setting allows for flexibility that would have been more limited, making the question less about what happened in a session, and more about the behavior of a user, and the translation of data points into human actions.
Within the Property Settings, a default attribution model can be set for reporting needs. A lookback window can also be specified, leveraging 30-day as the default. This is a stark difference from UA, where Last Non-Direct Click was default, and could not be changed across the account; different models were previously only comparable in a specific tab.
Google has released important notes on attribution models:
Attribution reporting previously focused on how a website acquired a user’s session, however GA4’s attribution reporting will focus on both how the user was first acquired and how a user’s subsequent sessions were acquired. Below, you’ll see reference to a number of metrics that factor in not just current sessions, but also the original method of acquisition.
You will see a number of old dimensions and metrics that utilize language like ‘First user source’ and ‘Session source’. This is used in a number of dimensions, including channel grouping and medium, to differentiate between information specific to the user’s initial acquisition as well as subsequent sessions.
New in GA4:
Data-driven models — Data-driven attribution distributes credit for the conversion based on channel data for each conversion event. It differs from other models because it uses your account’s data to calculate the actual contribution of each click interaction.
Cross-channel rules-based models —These come in a number of formats, dependent on specifics:
Because GA4 is an entirely new product, you can’t simply hit an ‘update’ button on your existing Universal Analytics or GA360 property; a new property needs to be created for GA4, and your site will need the appropriate tagging to begin collecting data.
While Google is providing a mirroring service that translates UA tags to GA4, both our and Google’s recommendation is to not rely on this solely. Due to the inherent differences in data structure, this will likely lead to messy setups; with any errors or issues from the old setup being carried to GA4. With the introduction of GA4, there’s the opportunity to set yourself up for success in this new age of analytics.
Some strategic questions you’ll need to answer before implementation include:
If you want to have year over year data available in GA4 before the UA and/or GA360 deprecation, a full implementation is required before the respective date for this year (July 1, 2023 for GA360). If not completed by then, GA4 will have gaps that complicate 2023 year-over-year reviews.
A separate tracking code needs to be added to properties. This can be done within existing Google Tag Manager integrations, with no immediate need for code development on sites that are already successfully running Tag Manager.
Sites without Tag Manager will need to upgrade their site from analytics.js to gtag.js. We recommend considering Tag Manager if this is the case, for ease of implementation for all site tags (not just Analytics).
Existing Firebase SDK integrations will need to be updated to the latest version for Google Analytics 4, and apps without Firebase will need to be implemented.
If you already have the Firebase SDK on your site, make sure you have the latest version and link the app. If your app doesn’t yet have the Firebase SDK, get started in Google Analytics.
Data is forward-facing from the date of install, so the sooner you add GA4, the more historical data you’ll have. Adding GA4 to your site now—even if you don’t yet have the time to learn the layout, or decide how you’ll use the insights—is so important because it will start capturing data immediately. GA4 will keep running in the background so that when you are ready to explore its capabilities, you’ll have some statistically significant information to work with.
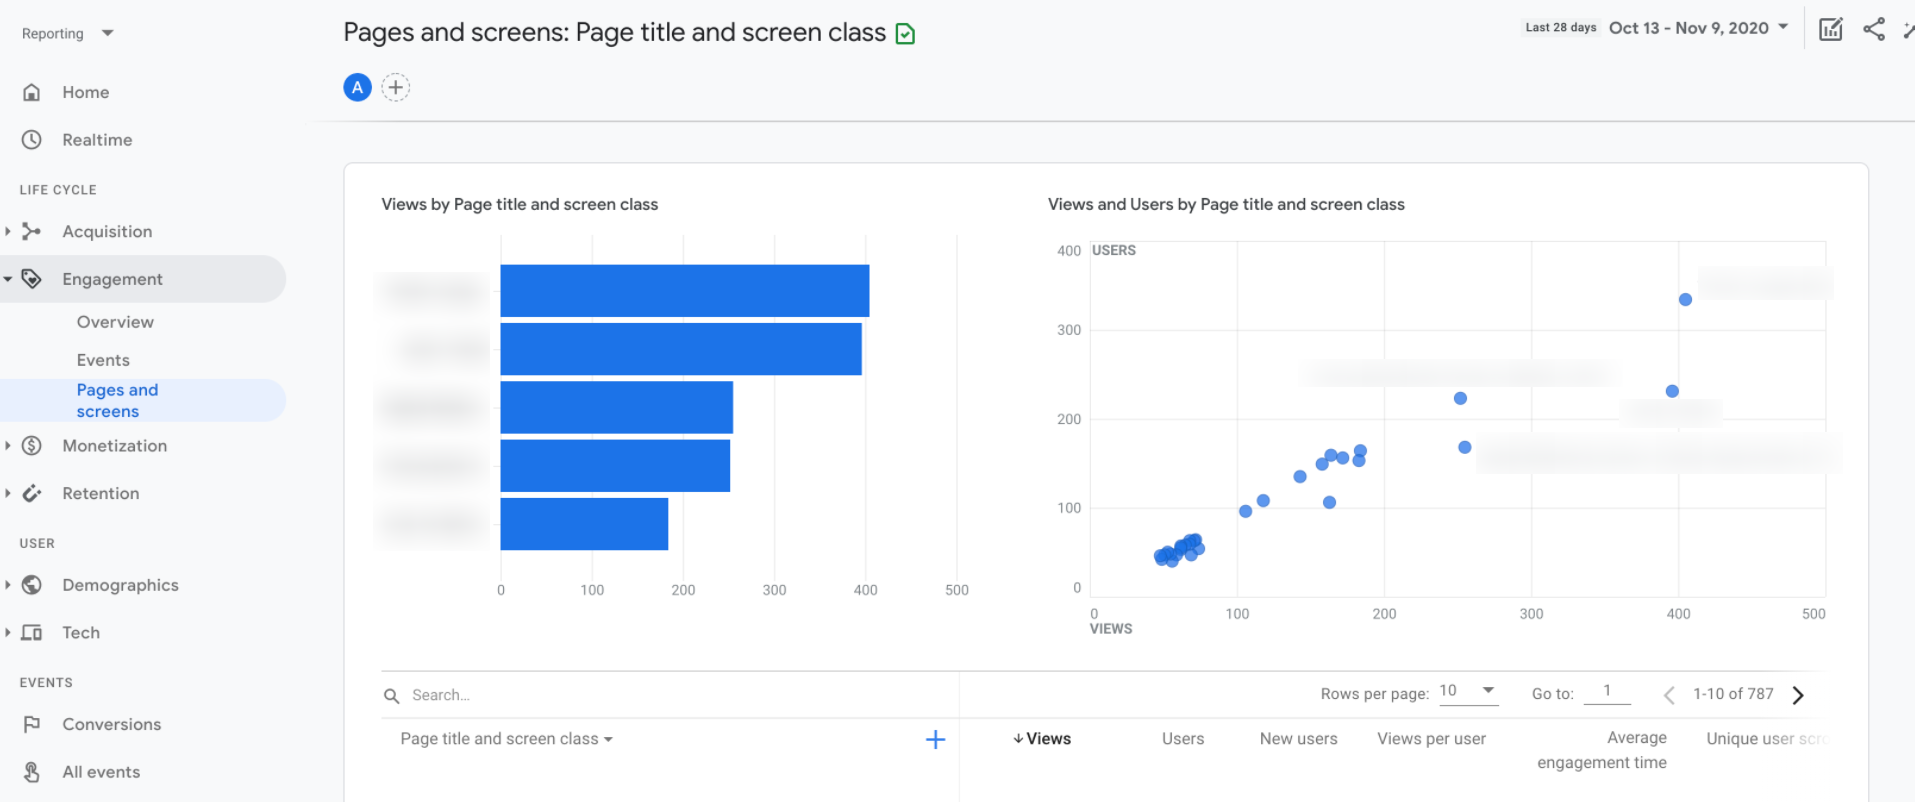
Historically, Google Analytics data has been very pageview-driven, providing information on familiar metrics to include the number of sessions and their average duration, the number of users and new users, bounce rate, and more. The data GA4 provides is more oriented toward understanding the customer lifecycle, to include information regarding acquisition, engagement, monetization, and retention.
In short, GA4 provides an entirely new way of looking at things. And a new way of looking at things can be both wonderful and overwhelming, especially if you’ve been using Google Analytics daily for many years.
Since there are so many changes to the user interface and methodology, the sooner you start planning, the better. Even if basic code is set-up on your site/app in parallel, it will allow users to familiarize themselves with the nuances of the new platform.
As we mentioned—at least as long as Universal Analytics is still available—you don’t have to choose. For the time being, you can have your data cake and eat it, too.
While you still have 2 profiles—UA or GA360 and GA4—we recommend using them individually and in tandem, understanding which metrics are related, or influence one another. Chances are new connections between dots will present themselves, and those enhanced understandings of how A can impact B can impact C can be invaluable.
Yes—as soon as possible.
Once Universal Analytics (UA) is retired, site owners who haven’t yet installed GA4 will be scrambling to get it implemented. We strongly recommend exporting and maintaining hard copies of historical data for your records. Data will not be transferable from UA/GA360 to GA4 properties due to how differently their data models and definitions function and operate. If you need help with this data export, Tinuiti can help!
Avoid the panicked rush by getting your site set-up well ahead of time, especially because GA data is so important. Proper implementation—with time to work out any potential kinks—is crucial; you make a lot of decisions based on GA data, so you need to be sure the information you’re working with is accurate.
With the change of the data model and how data is organized, we’re seeing a shift in how Google Analytics will be best leveraged. GA has historically been among the best ways to view and analyze, while GA4 is far better-positioned to be the nexus point of data, ready to be leveraged, particularly within Tinuiti’s own Blisspoint ecosystem.
Get in touch now to see how Tinuiti can help you assess readiness and migrate to GA4.
Editor’s Note: This post was originally published by Tom Clinton in November 2020 and has been updated for freshness, accuracy, and comprehensiveness.